EC18030 Tiaga Privacy Screen
Introduction
Important Safety Notes:
- Check the inside of the larger pieces in your box for other materials packed inside.
- We recommend an area approximately 5’ x 8’ for unobstructed assembling.
- You should not need to use excessive force when assembling components.
- No free replacement parts will be provided for wind-related damage.
Returns:
If you wish to return your product, please contact us first — we can often help resolve the issue right away. If a return is still necessary, it must be initiated with the retailer where the product was purchased.
Need Help or Replacement Parts?
If you need replacement parts, assembly assistance, or have questions about the product, our customer service team is happy to help.
- Website: https://parts.nychbrands.com
- Email: support@encloscreens.com
- Phone: 704-892-5222 or 877-234-6196
Customer service agents are available 9am–5pm EST, Monday–Friday.
For Quick Assistance:
- Have reference item number EC18030
- Provide the specific part name
- Include the batch lot number found on back of box
Product Specifications & Dimensions
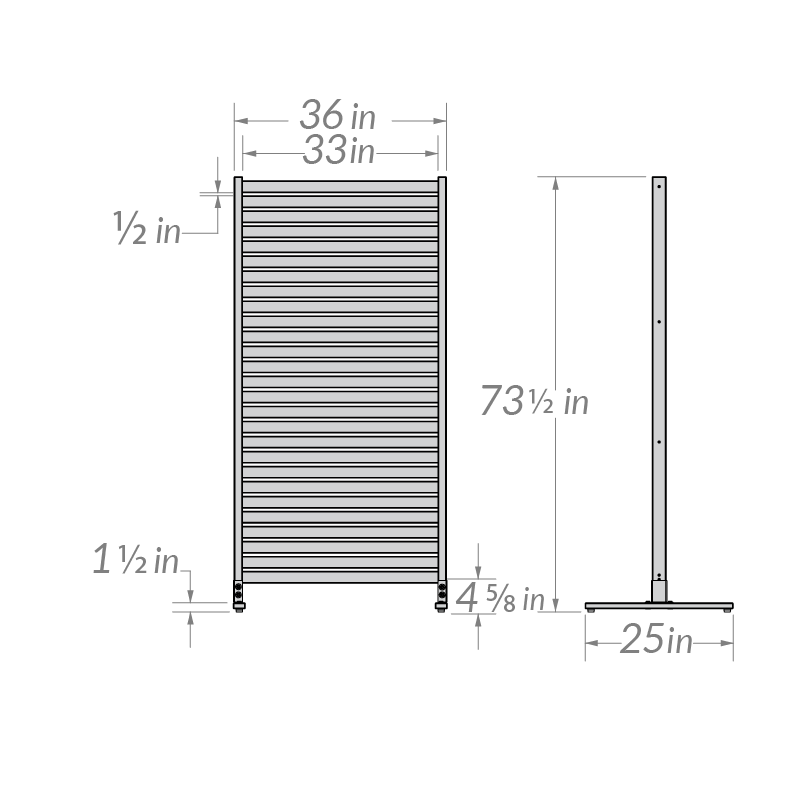
- Tipping may occur if left freestanding in areas with wind exposure
Part Identification
A. Post (2)
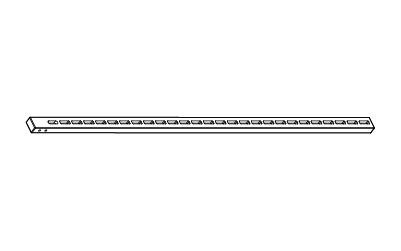
1 ½" × 2 ⅜" × 72"
B. Slat (25)
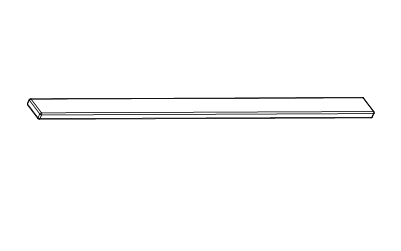
2" × ⅝" × 34 ⅞"
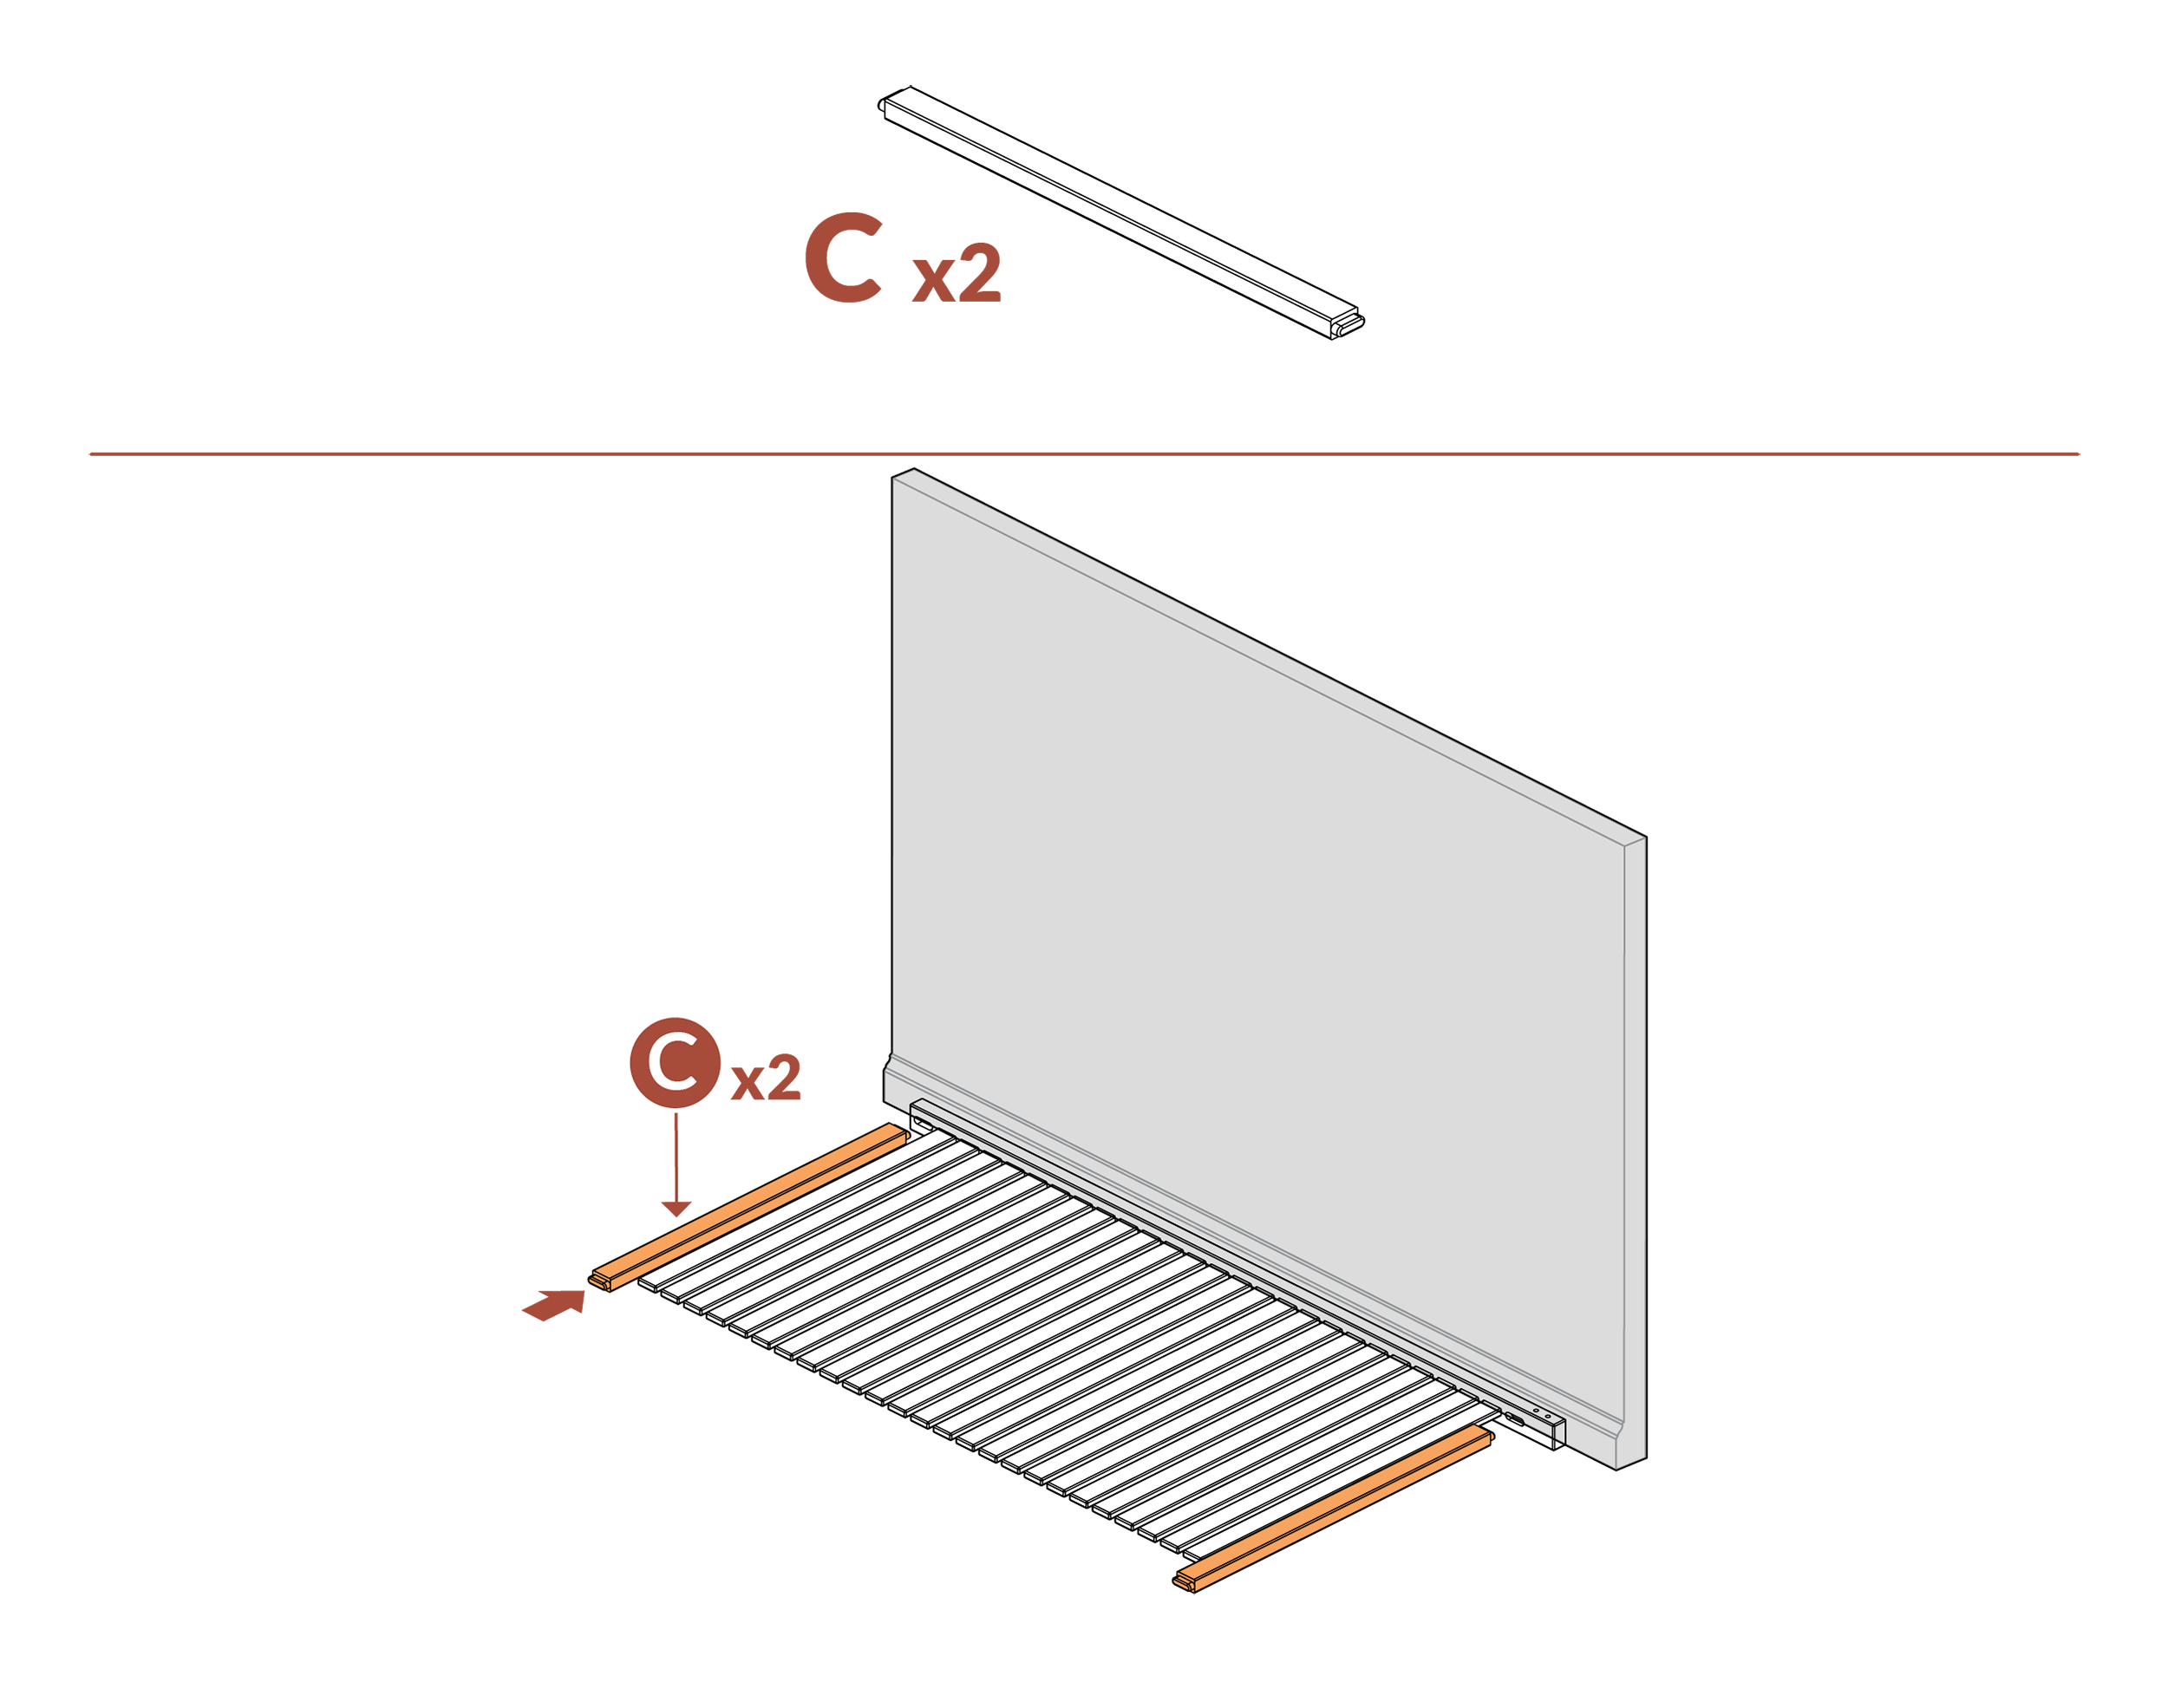
C. Rail (2)
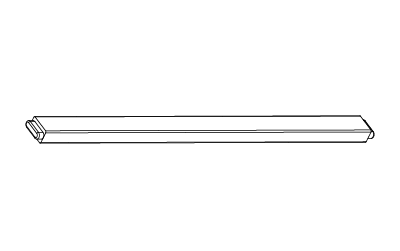
1 ¼" × 2" × 34 ⅞"
D. Feet (2)
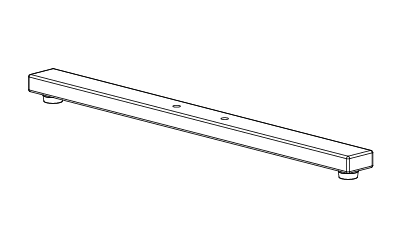
1" x 2" x 25"
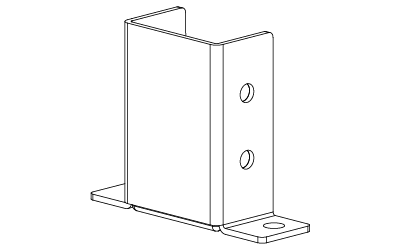
E. Joiner Bracket (2)
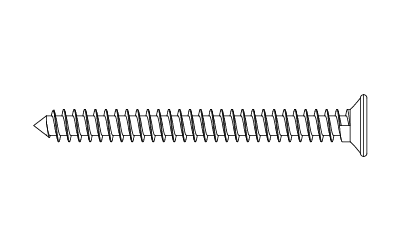
F. M5×40mm Wood Screw (10)
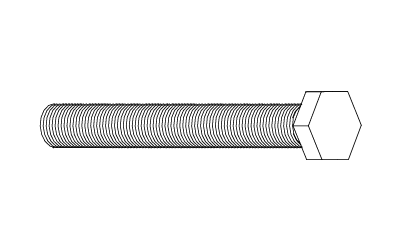
G. M6×30mm Bolt (4)
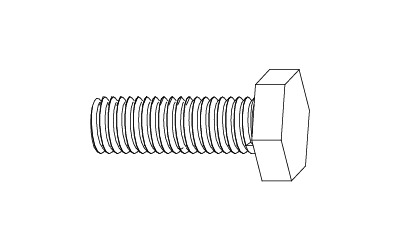
H. M6×80mm Bolt (4)
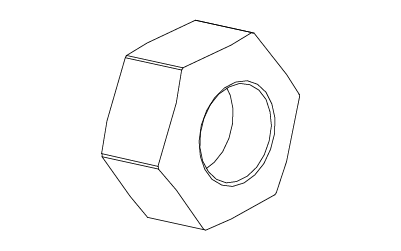
I. Nut (4)
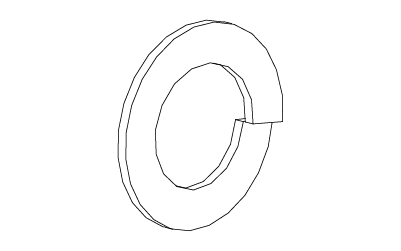
J. Washer (12)

K. Lock Washer (8)
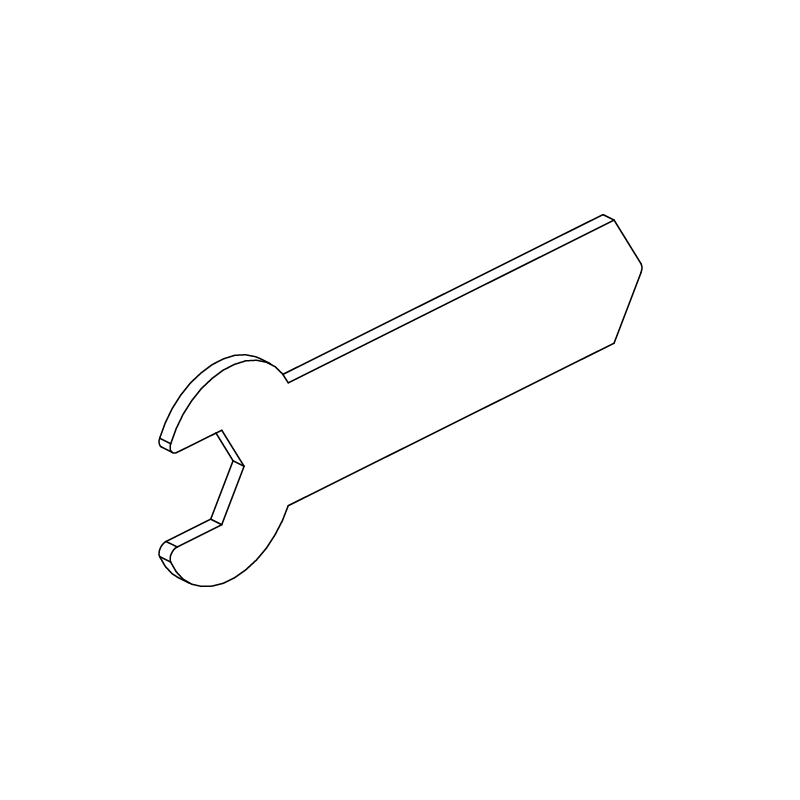
L. Wrench (2)
Tools & Optional Hardware (Not Included)
Freestanding Mount
Freestanding configuration is only recommended for environments with low wind exposure.


Power Drill

Phillips Bit
Deck Mount
Hardware Not Included

Power Drill

¼″ Wood Drill Bit

¼″ Lag Screws 3″ Long (4)

Matching Driver Bit
Patio Mount
Hardware Not Included


Hammer Drill

¼″ Concrete Drill Bit

Hammer

¼″ Concrete Wedge Anchor 2¼″ Long (4)

Matching Wrench
Assembly Step 1

- We recommend 2 people for a smoother assembly.
Assembly Step 2

Assembly Step 3
Assembly Step 4

Assembly Step 5

Surface mounting is recommended. Screen does not serve as a substitute for a security railing.
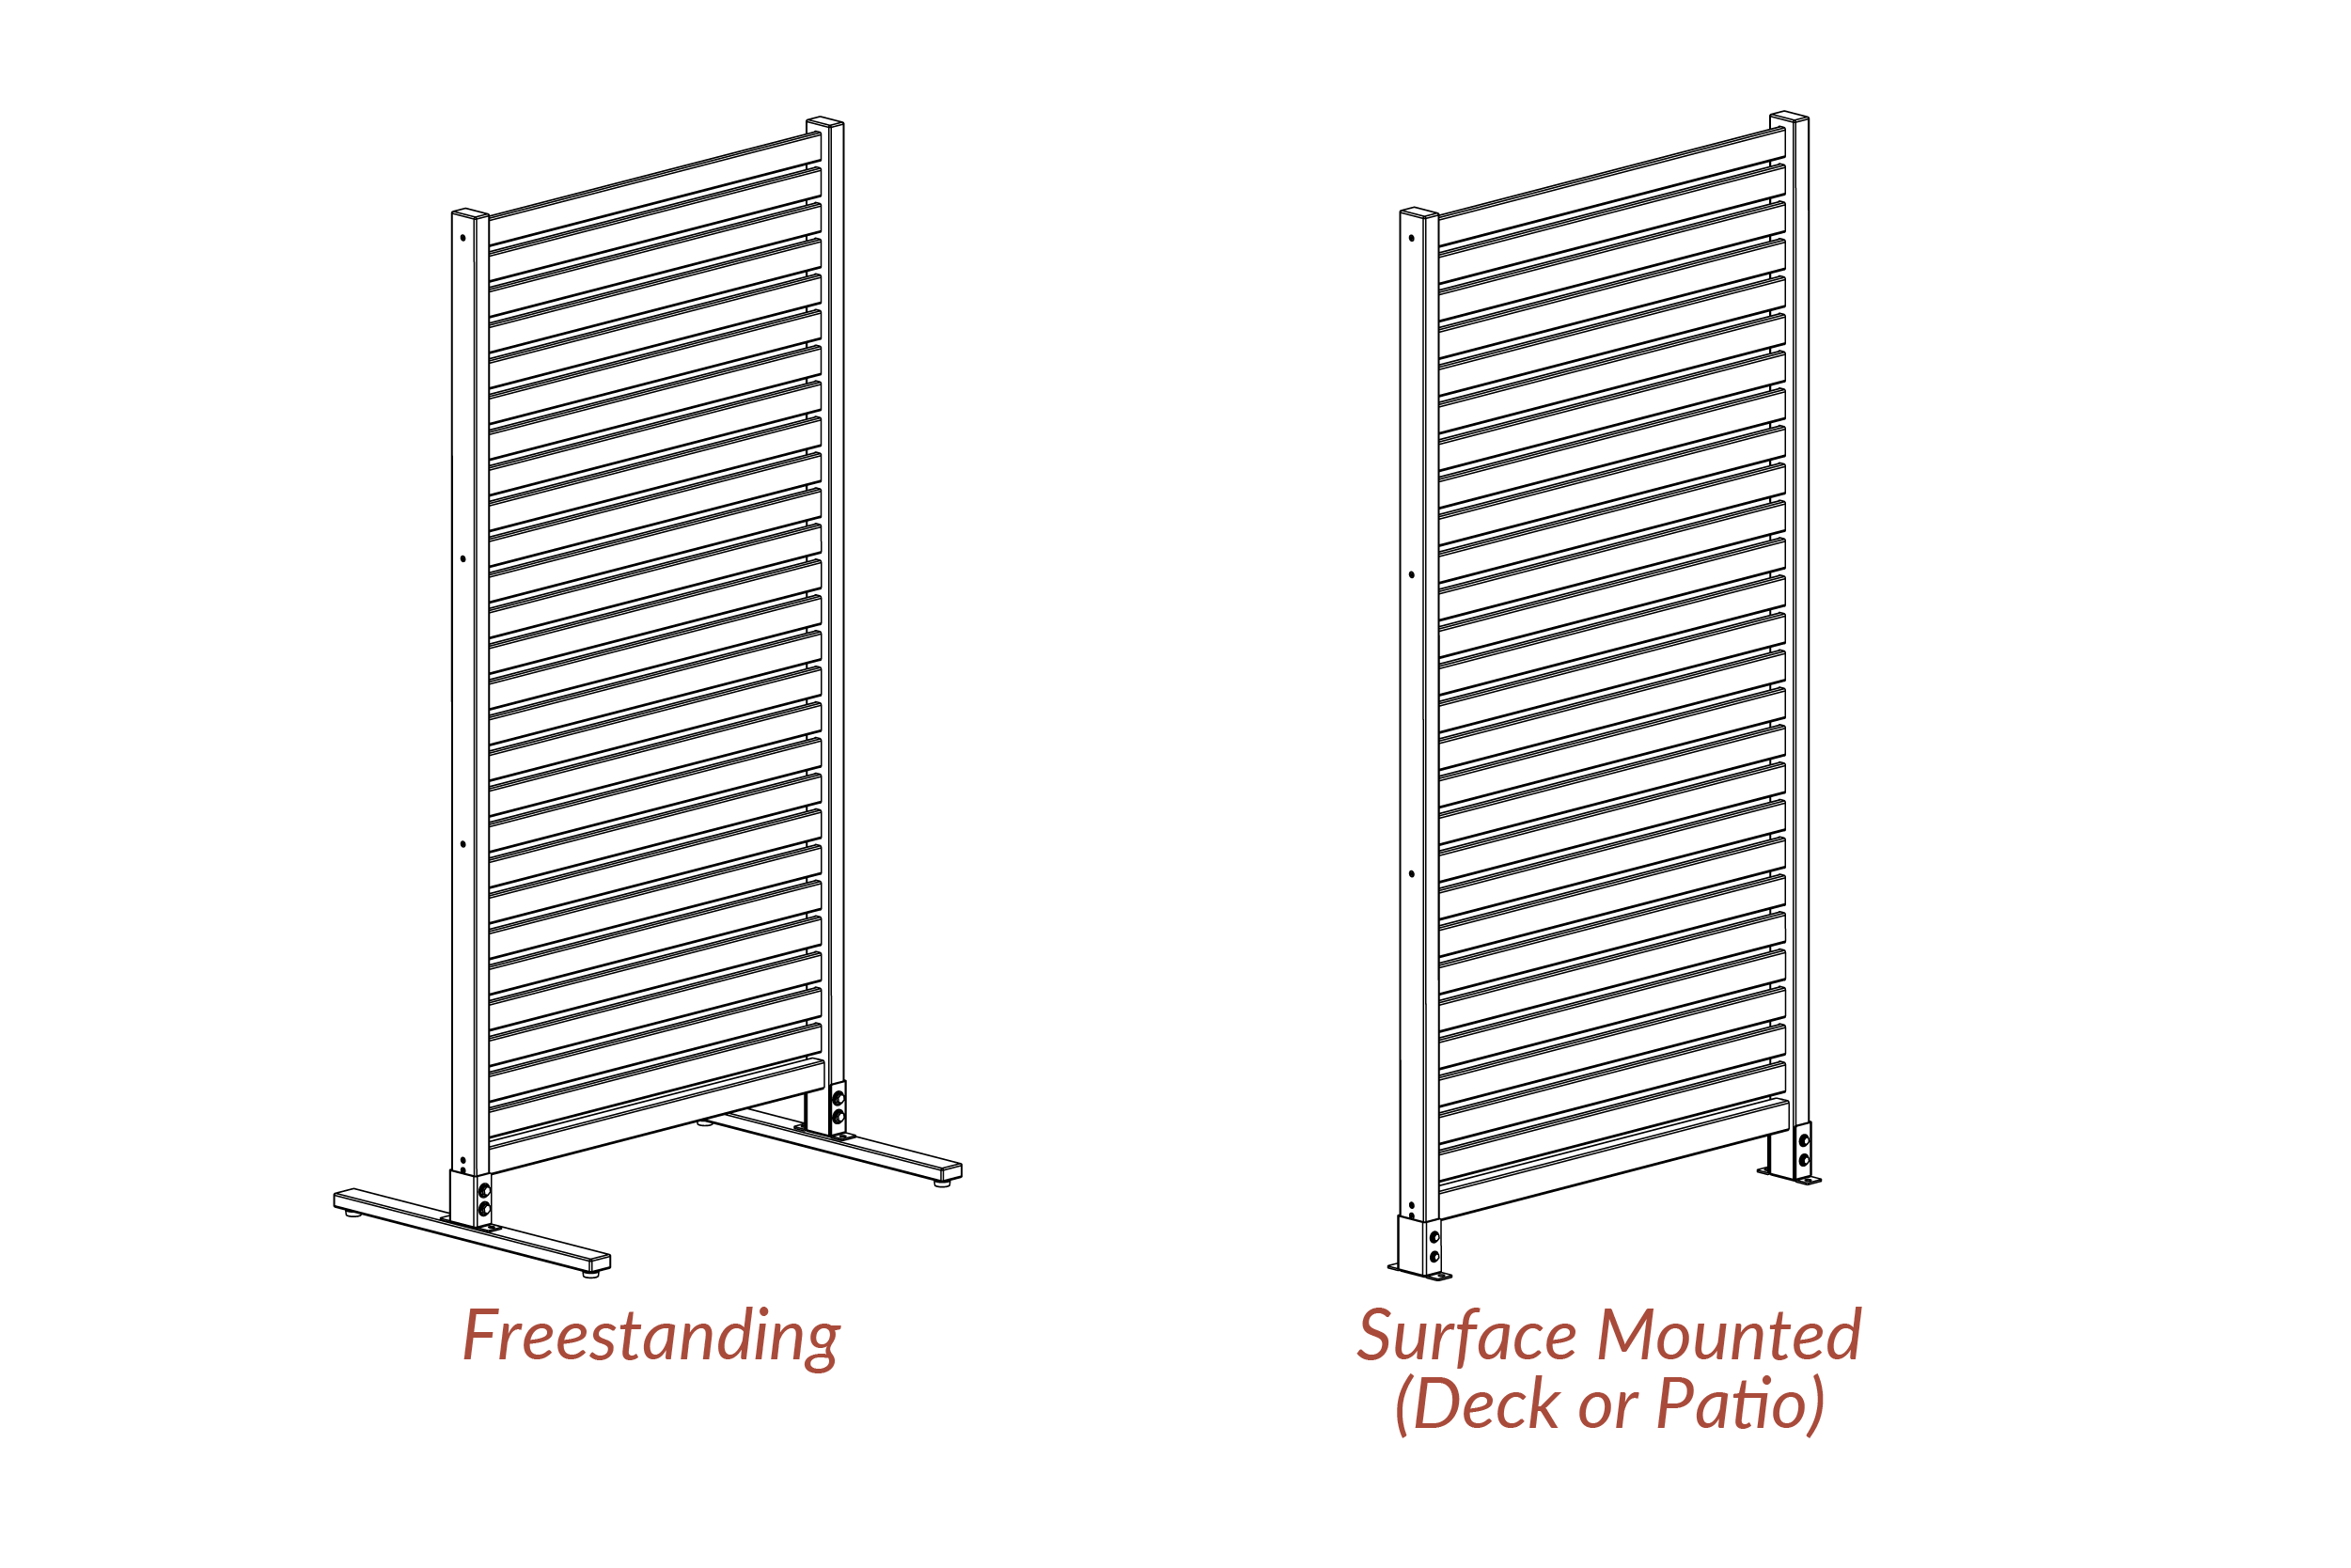
Freestanding Installation
Recommended Only For Indoor Use or Low-Wind Environments
Freestanding Step 1:
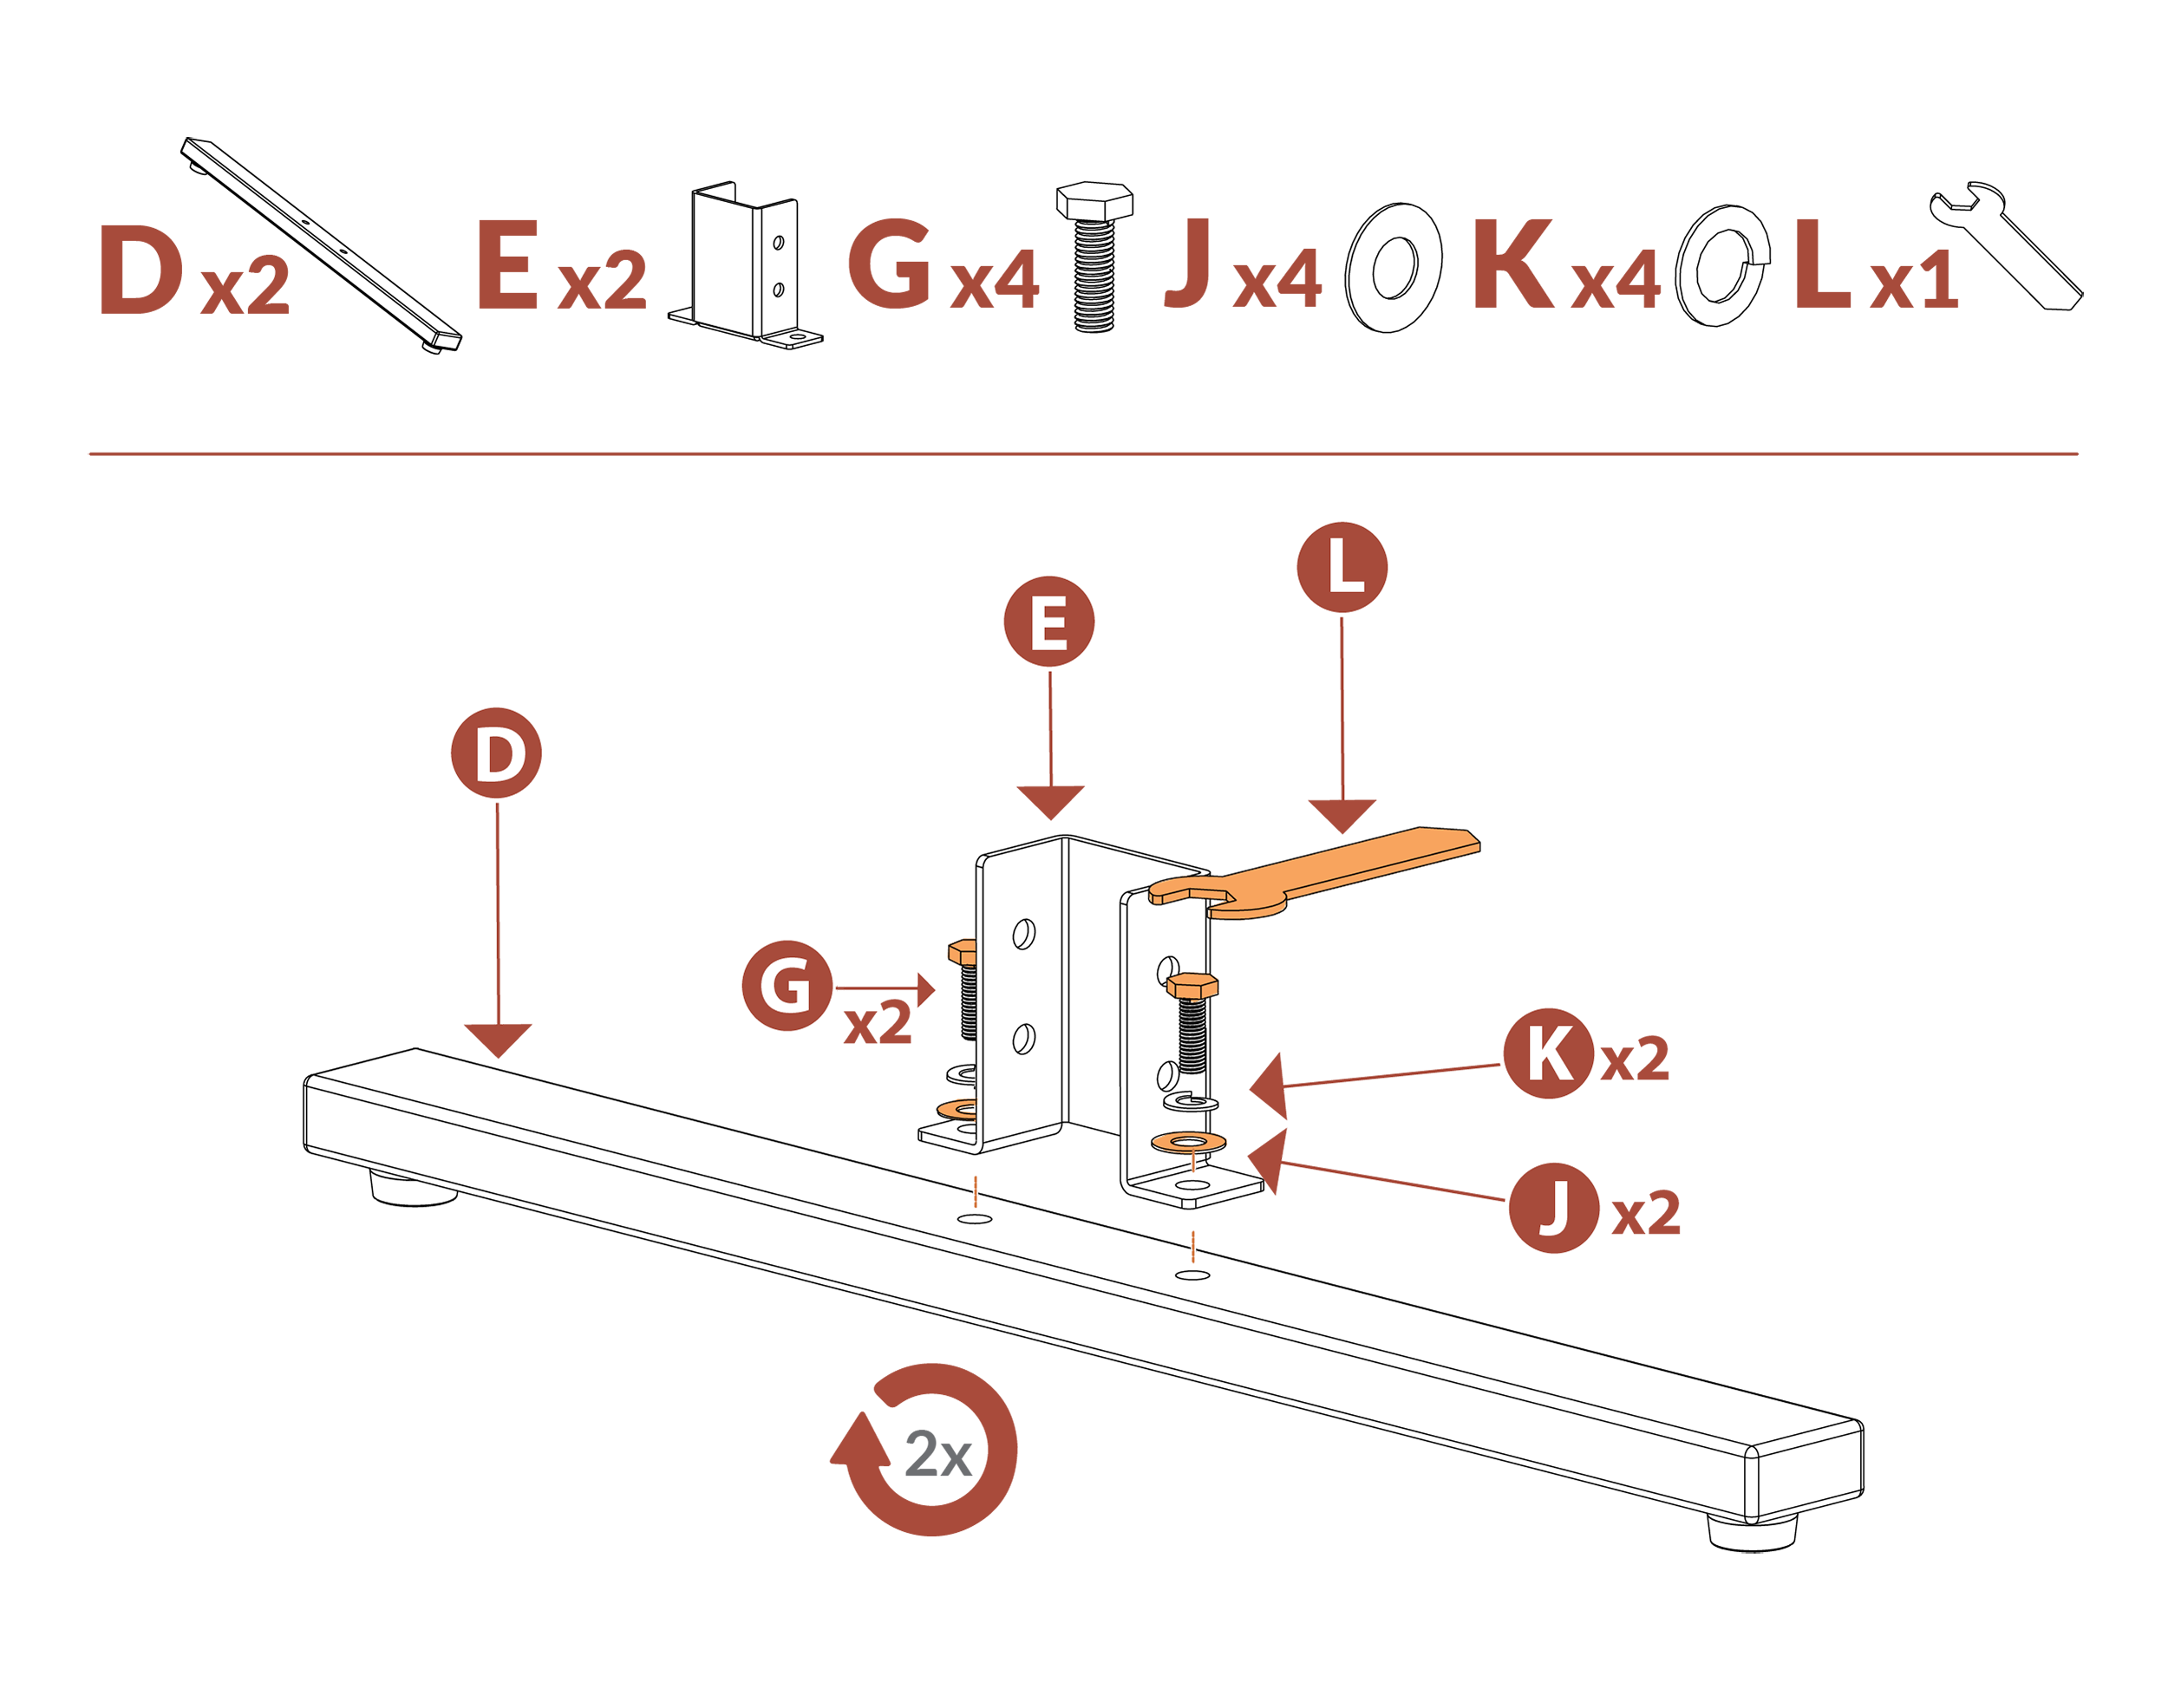
Freestanding Step 2:

Surface Mounted (Deck)
Surface Mounted Deck Step 1

Surface Mounted Deck Step 2
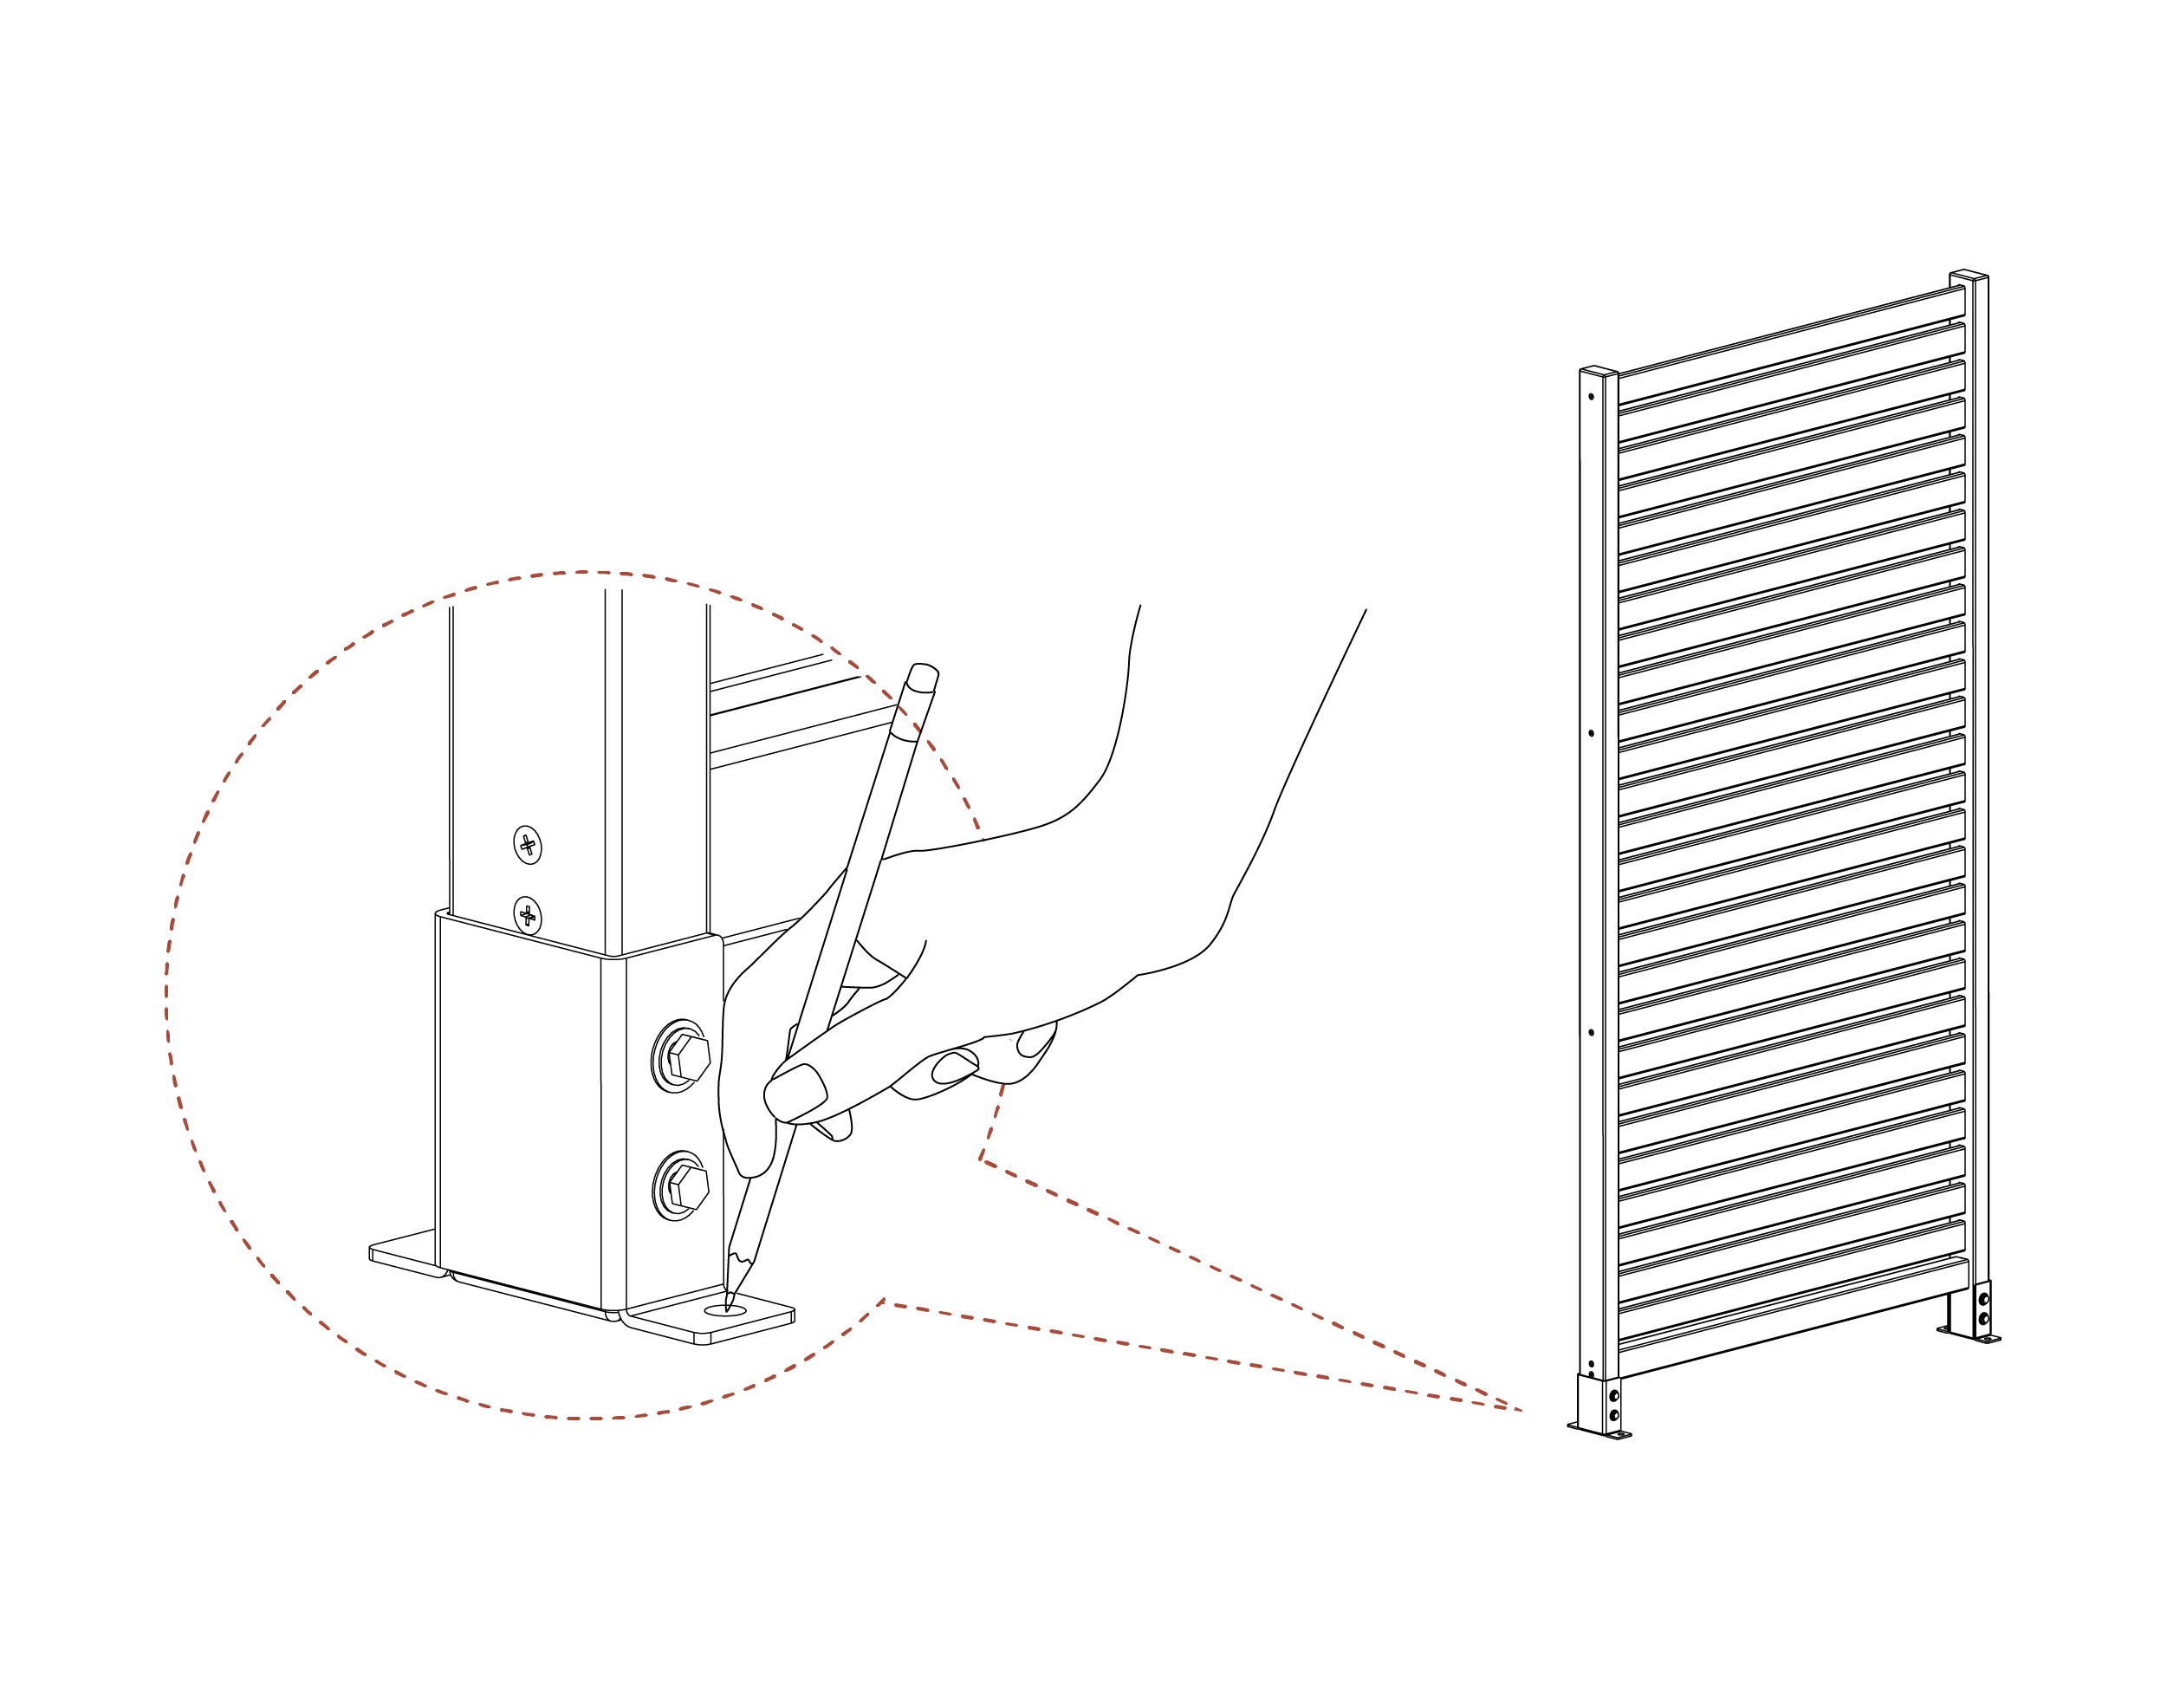
Surface Mounted Deck Step 3
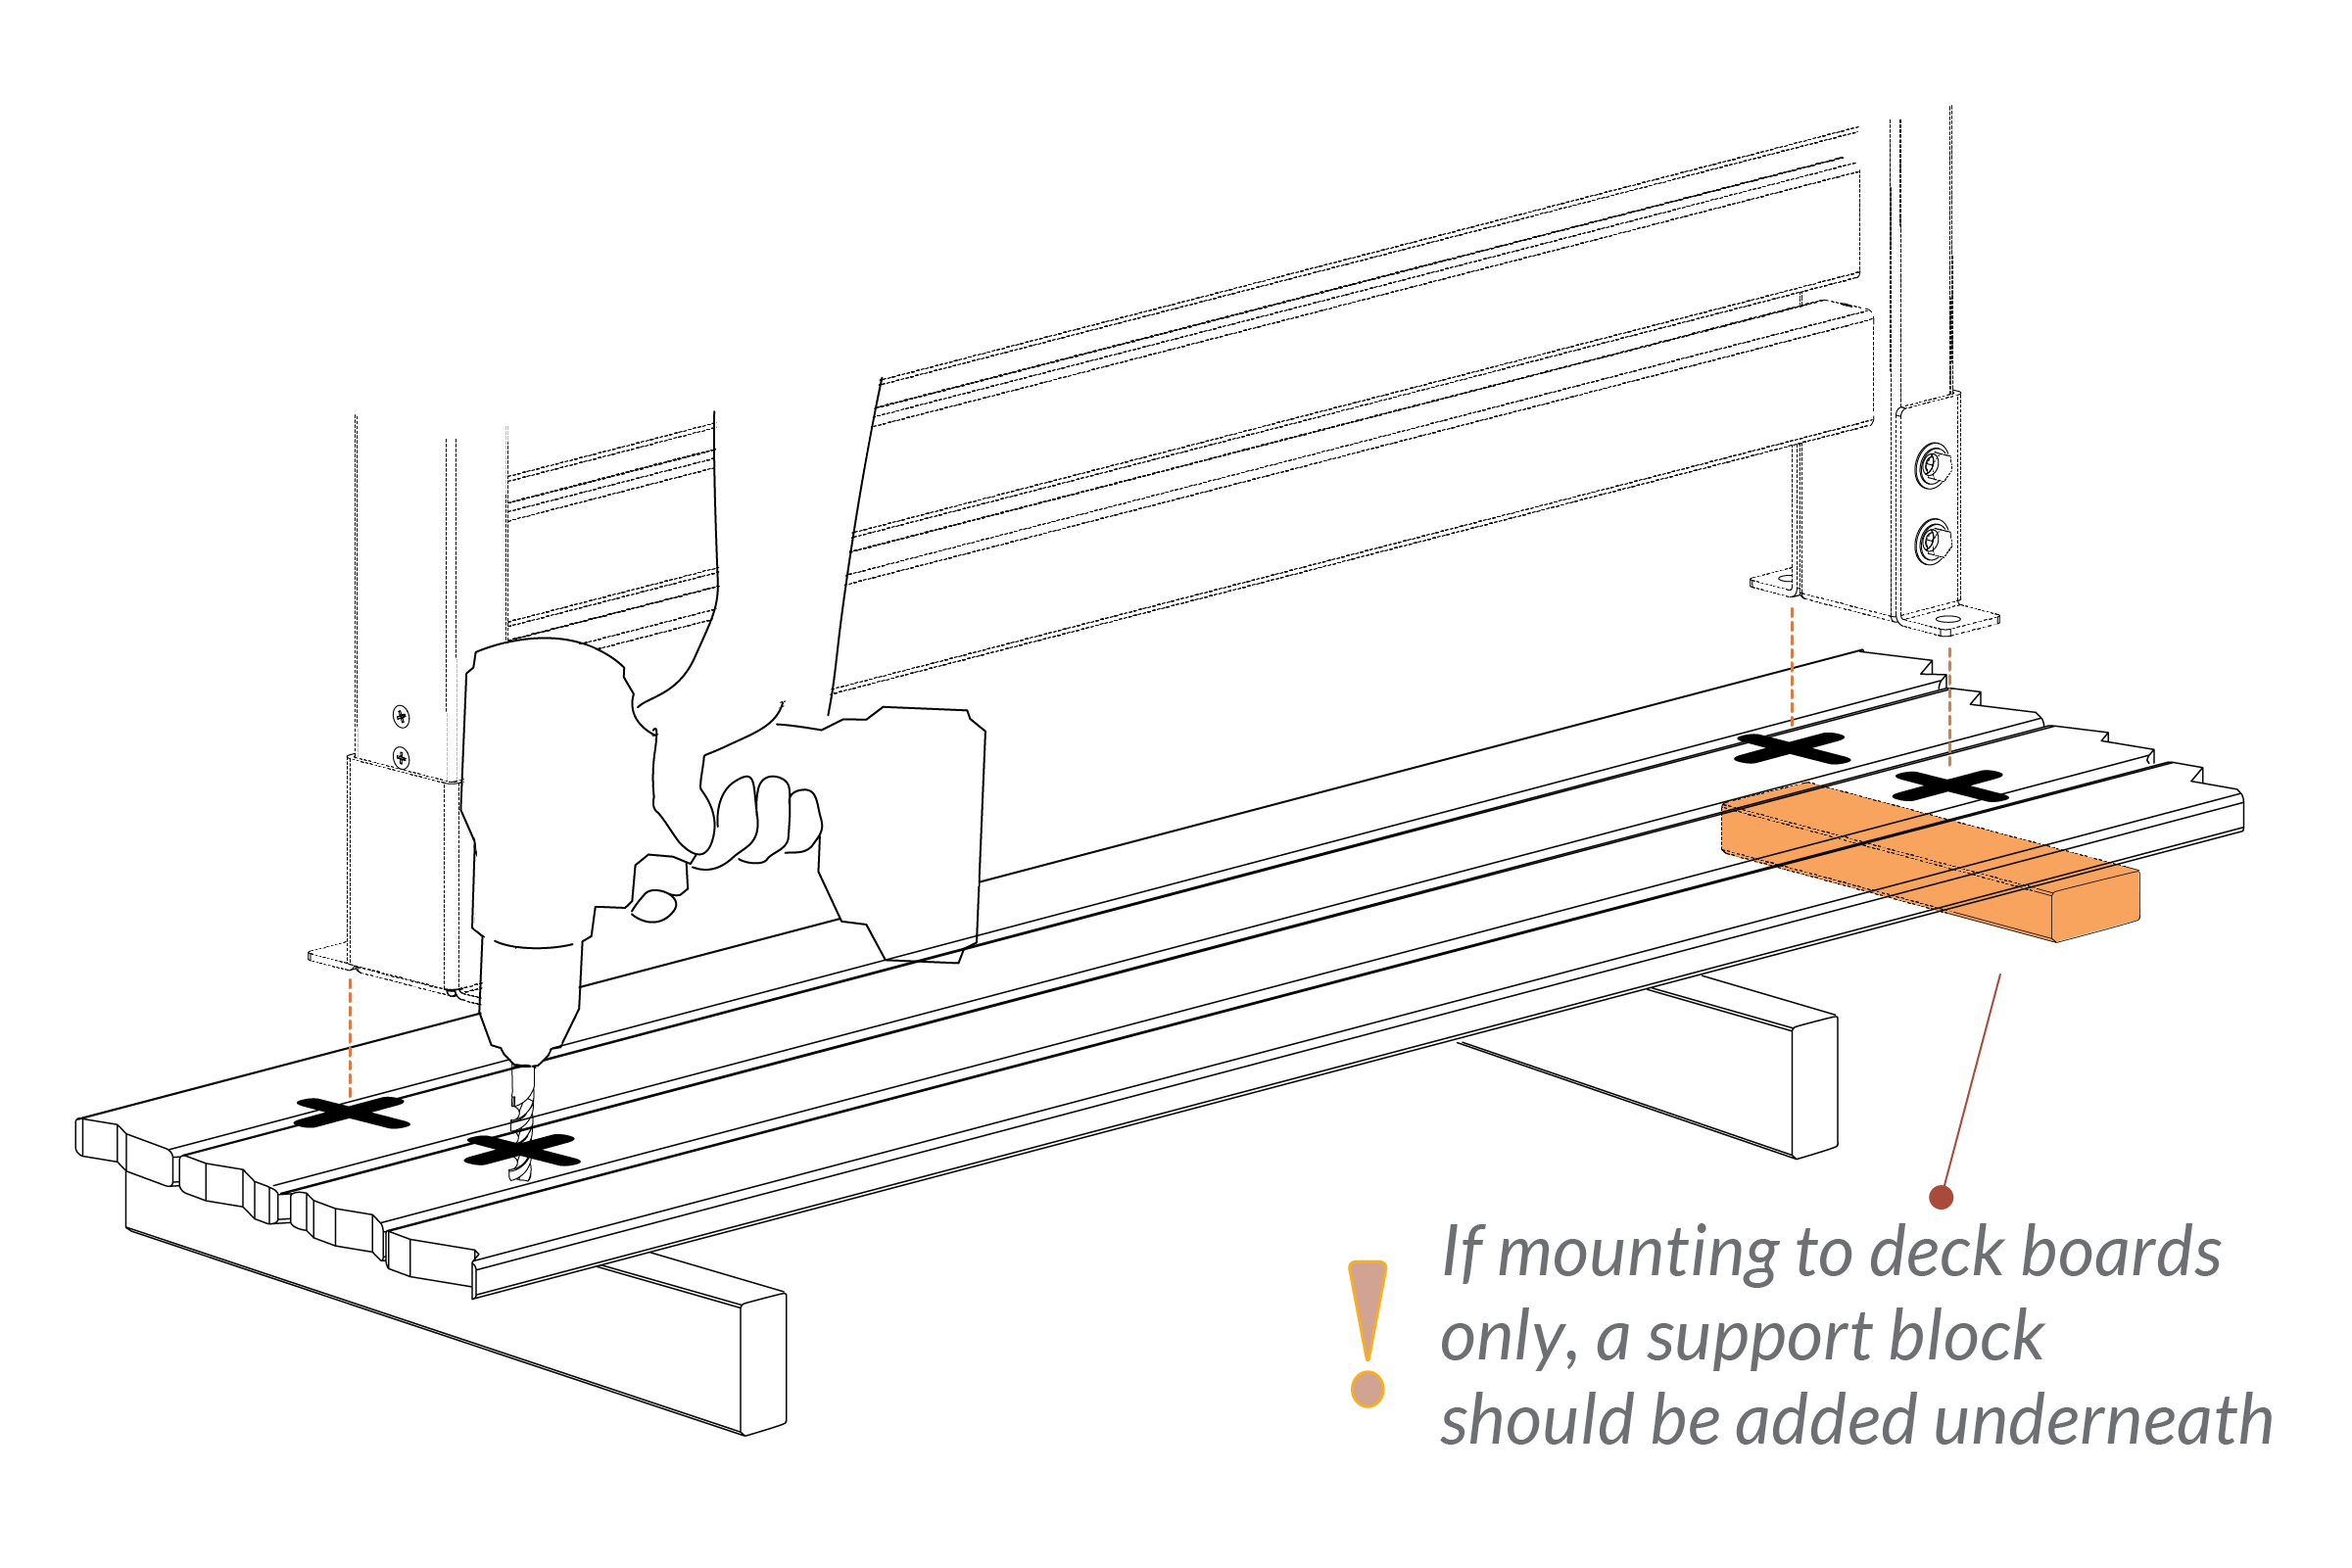
- Surface mounting hardware not included
- Refer to mounting hardware instructions to ensure proper installation.
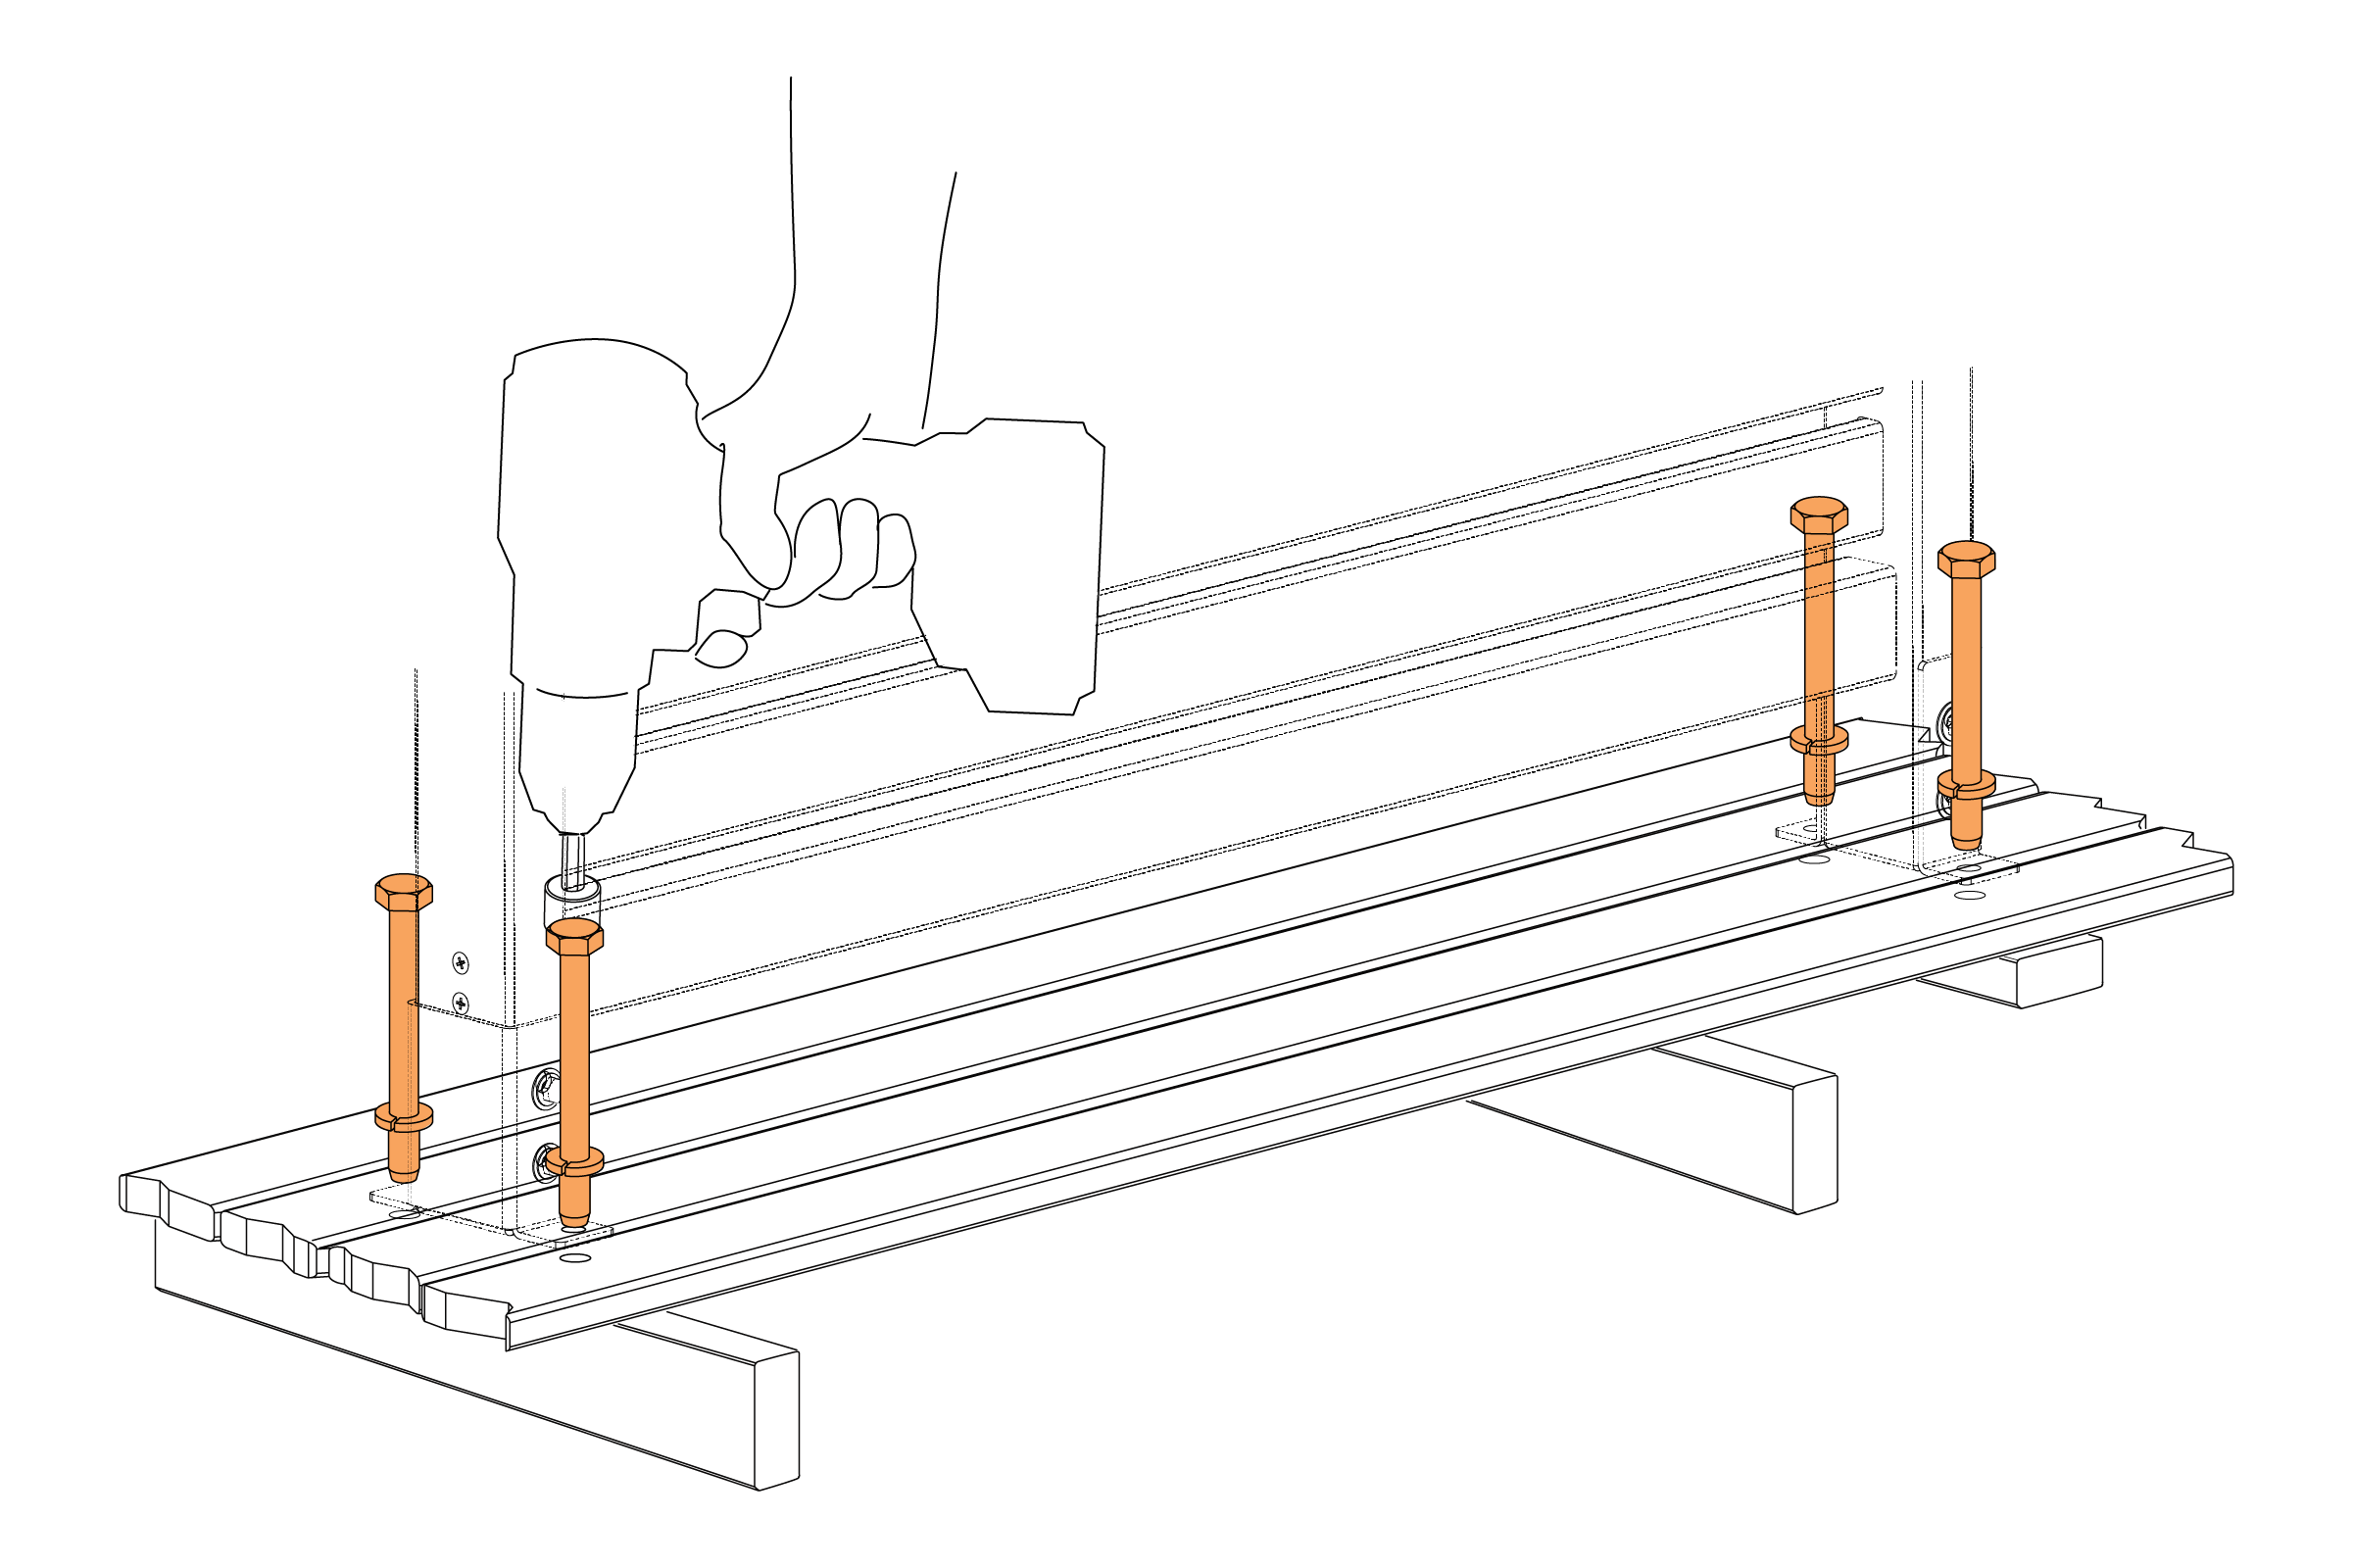
Surface Mounted Deck Step 4
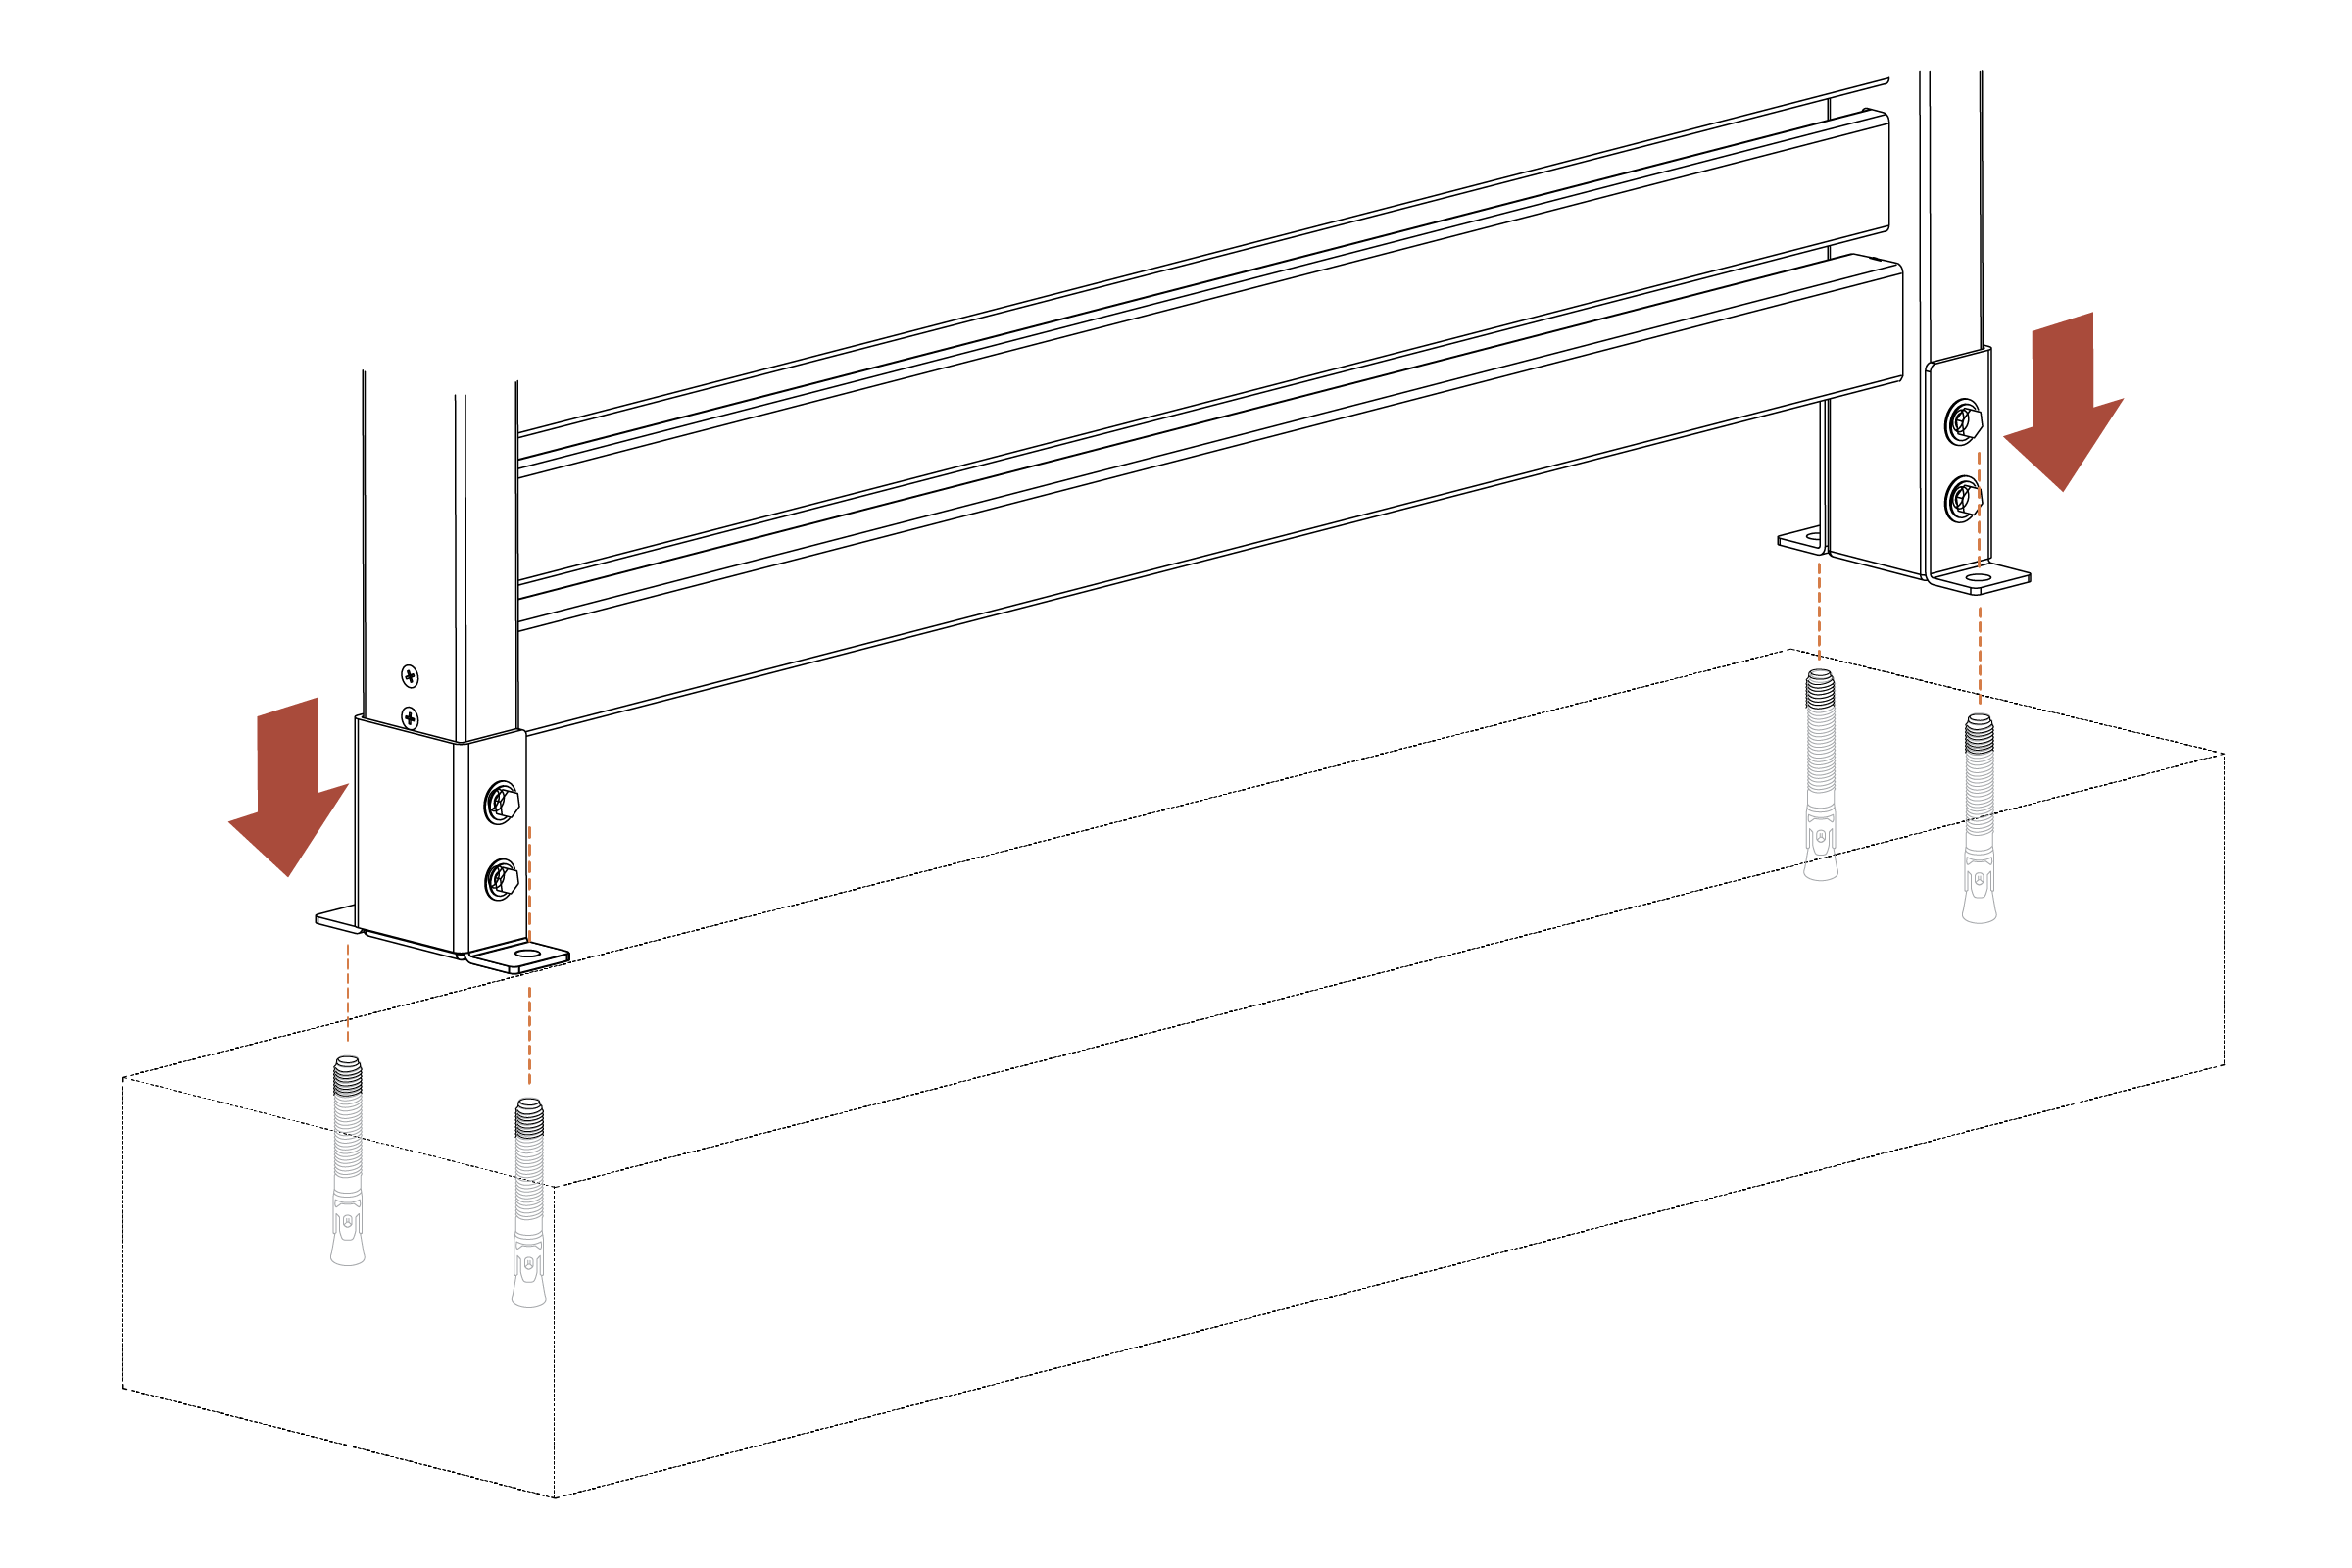
Surface Mounted (Patio)
Surface Mounted Patio Step 1

Surface Mounted Patio Step 2
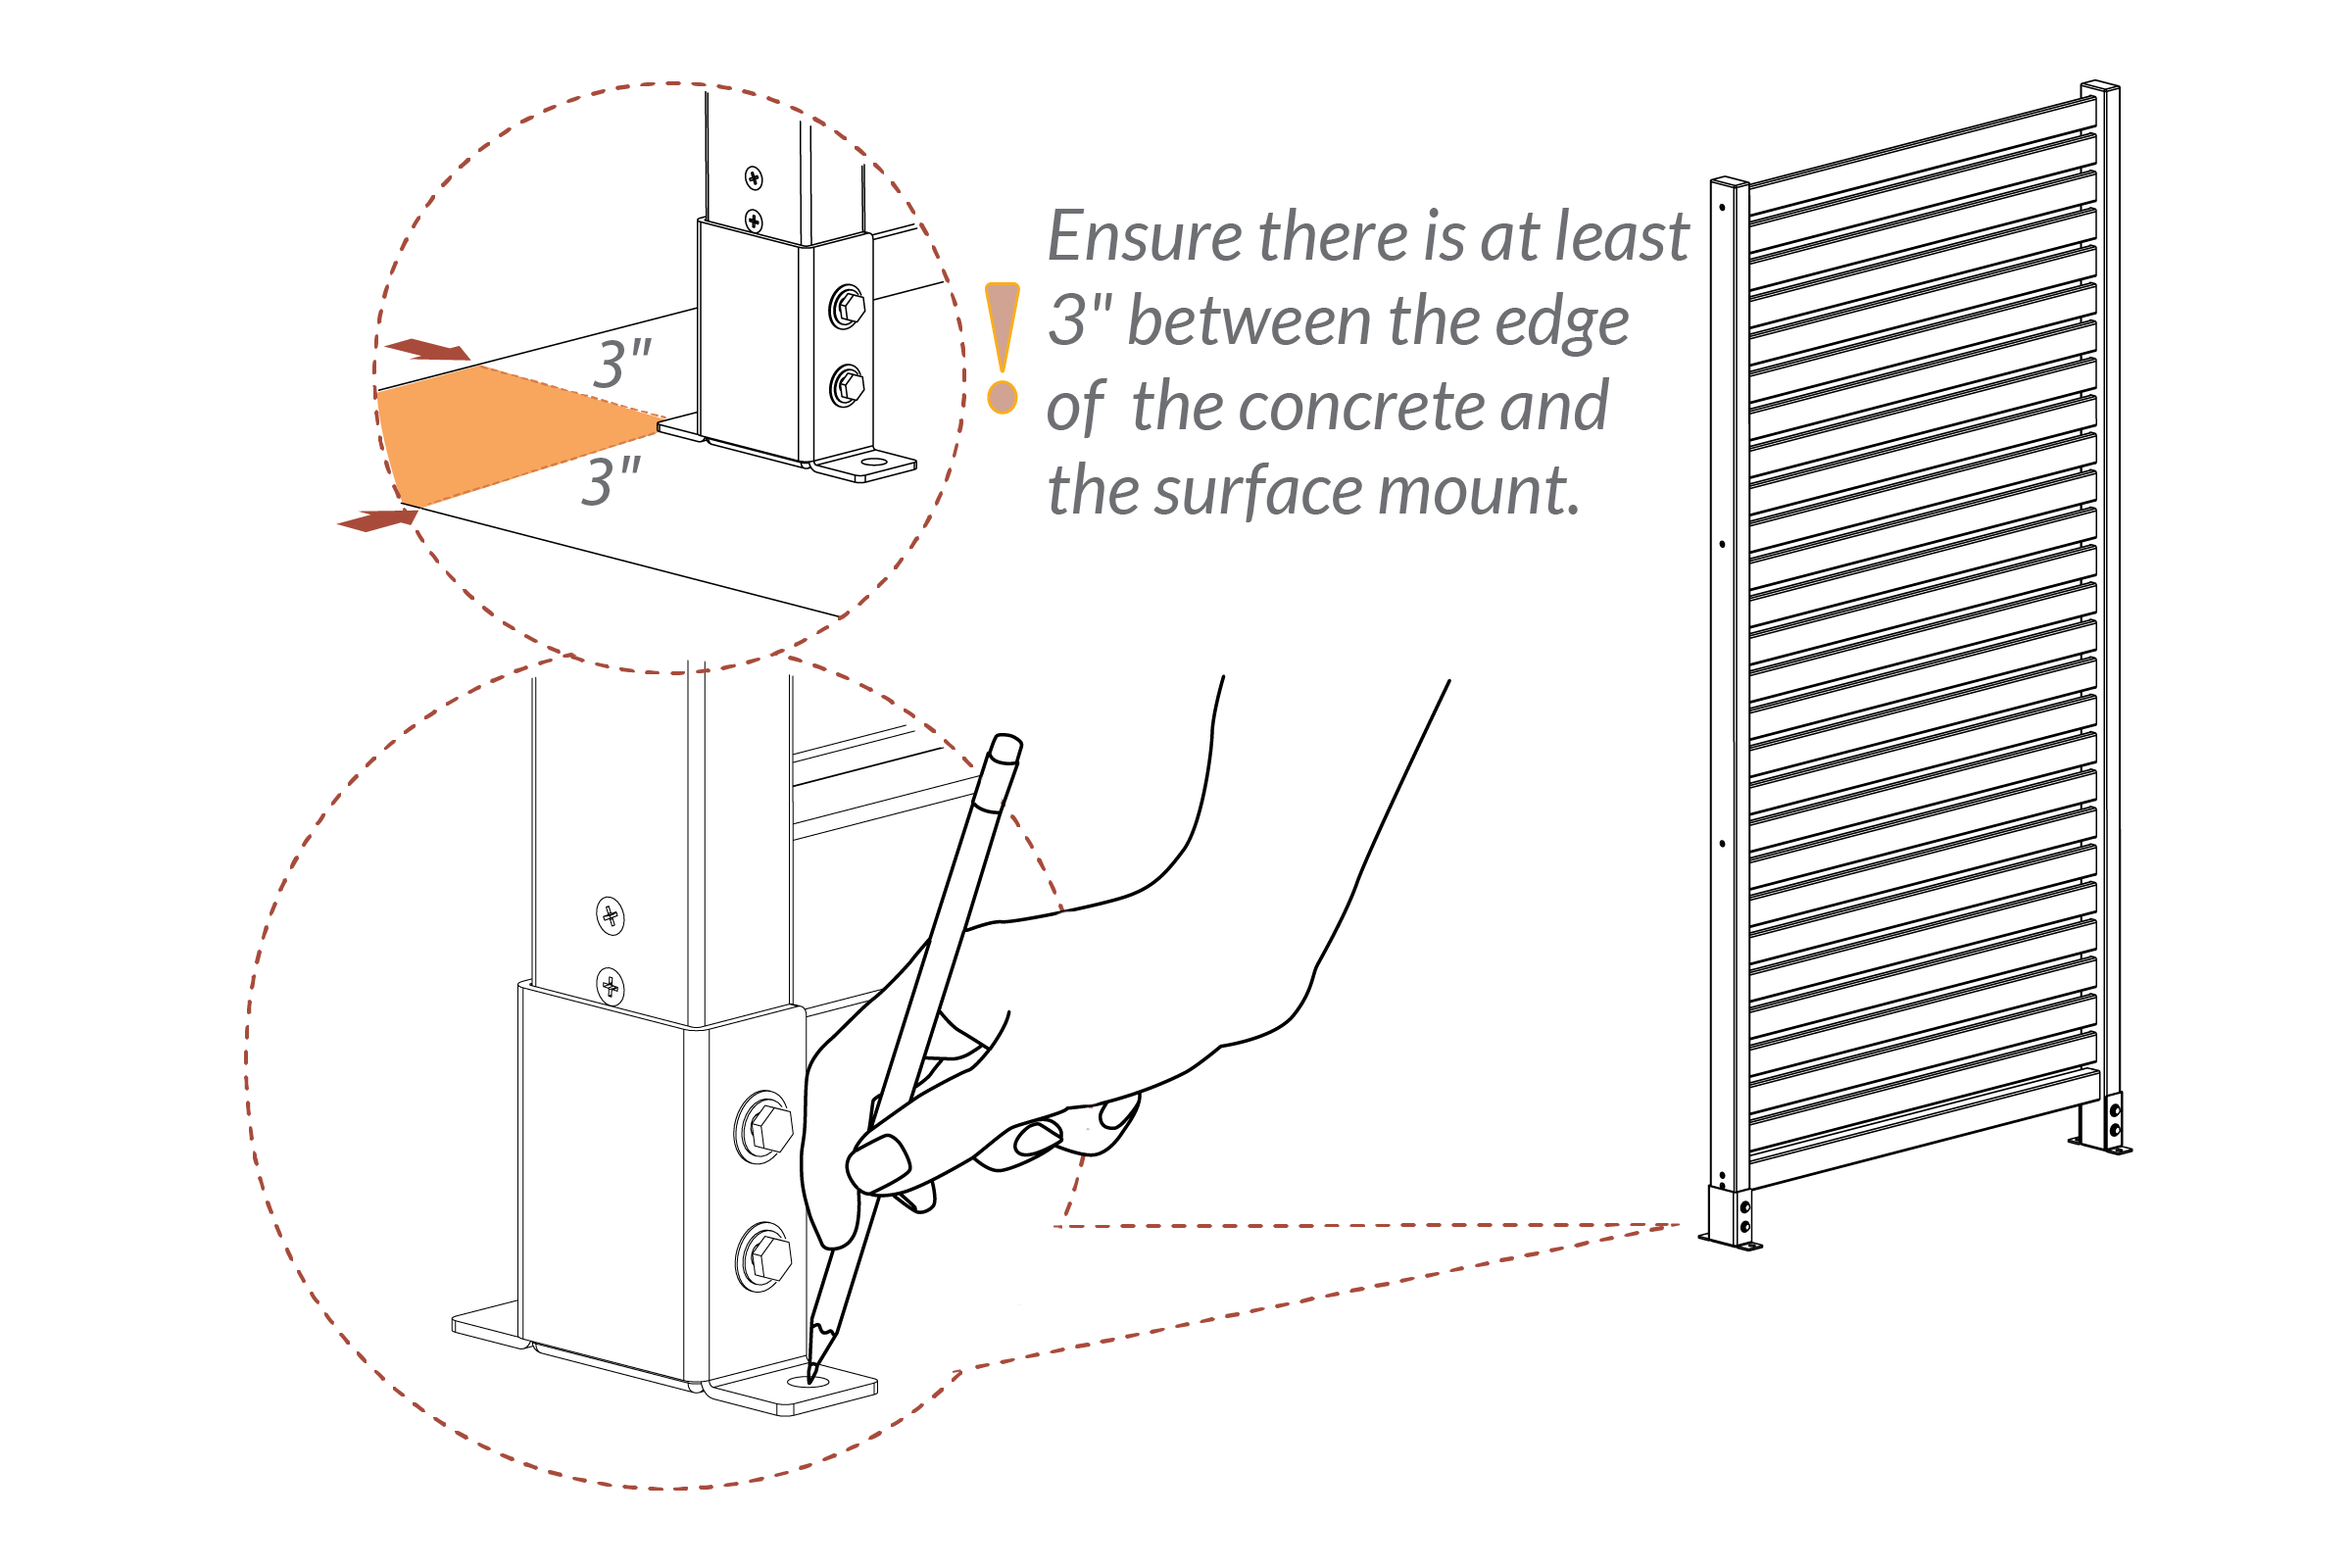
Surface Mounted Patio Step 3

- Surface mounting hardware not included. Refer to mounting hardware instructions to ensure proper installation.
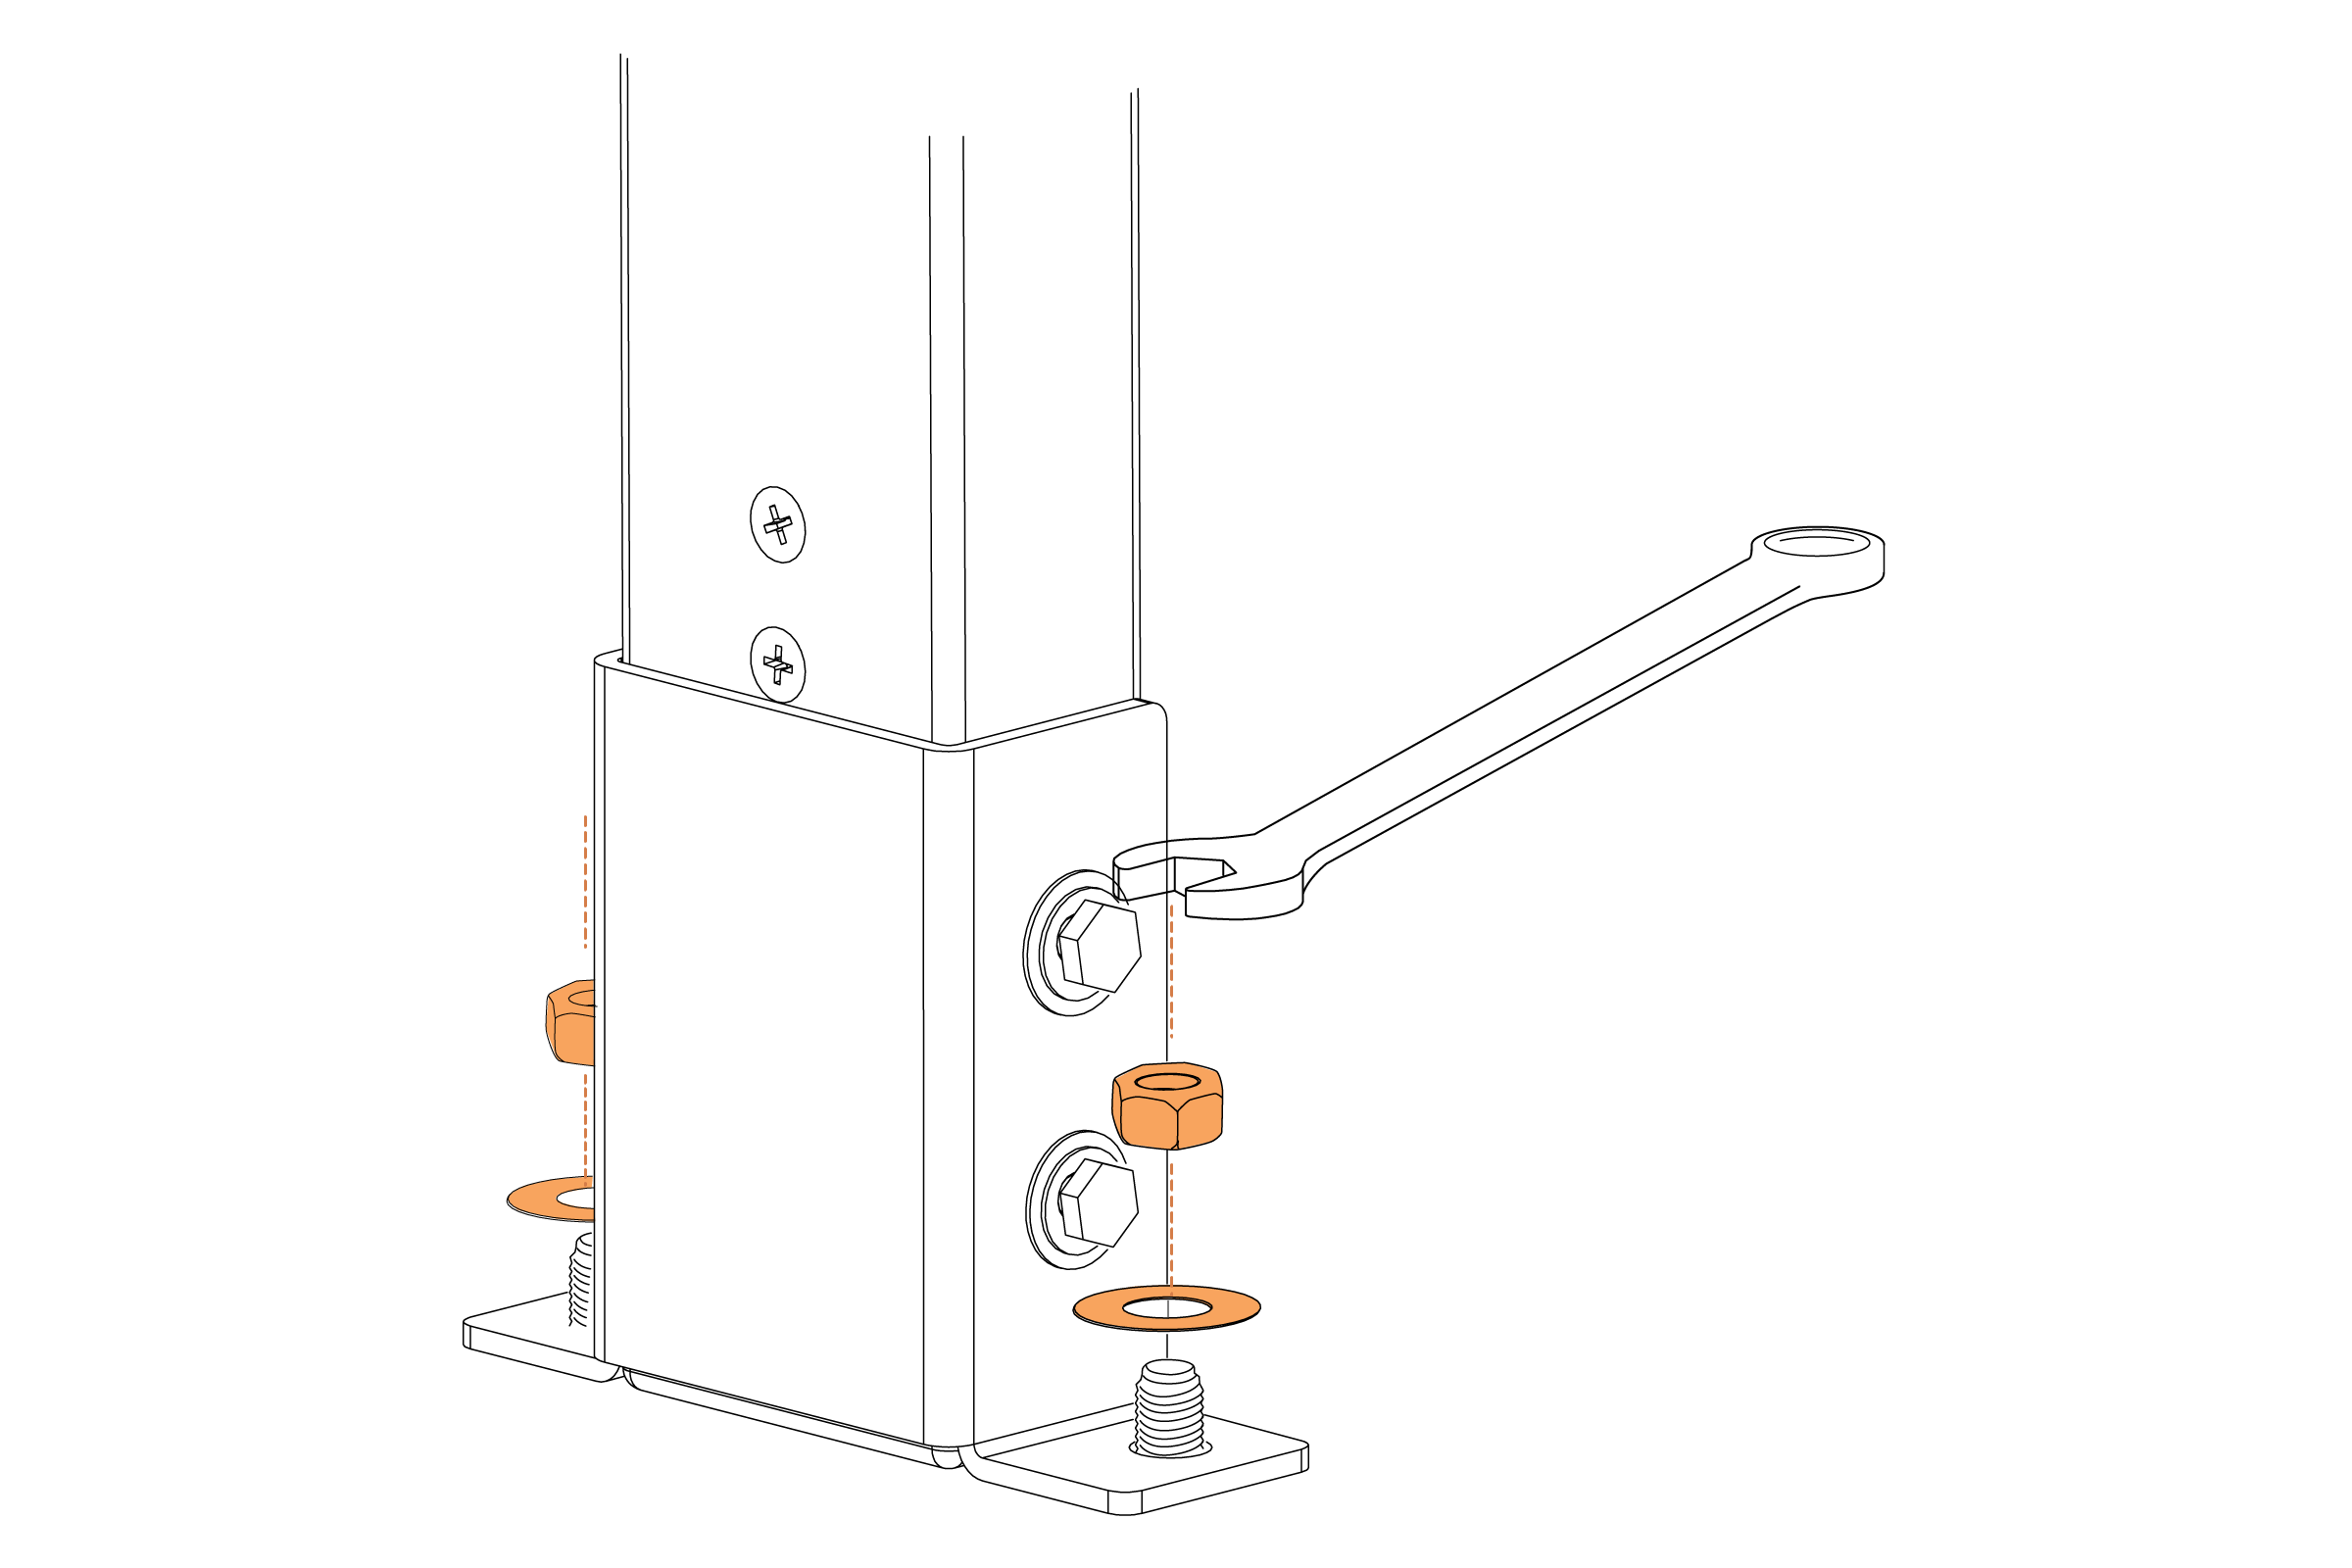
Surface Mounted Patio Step 4
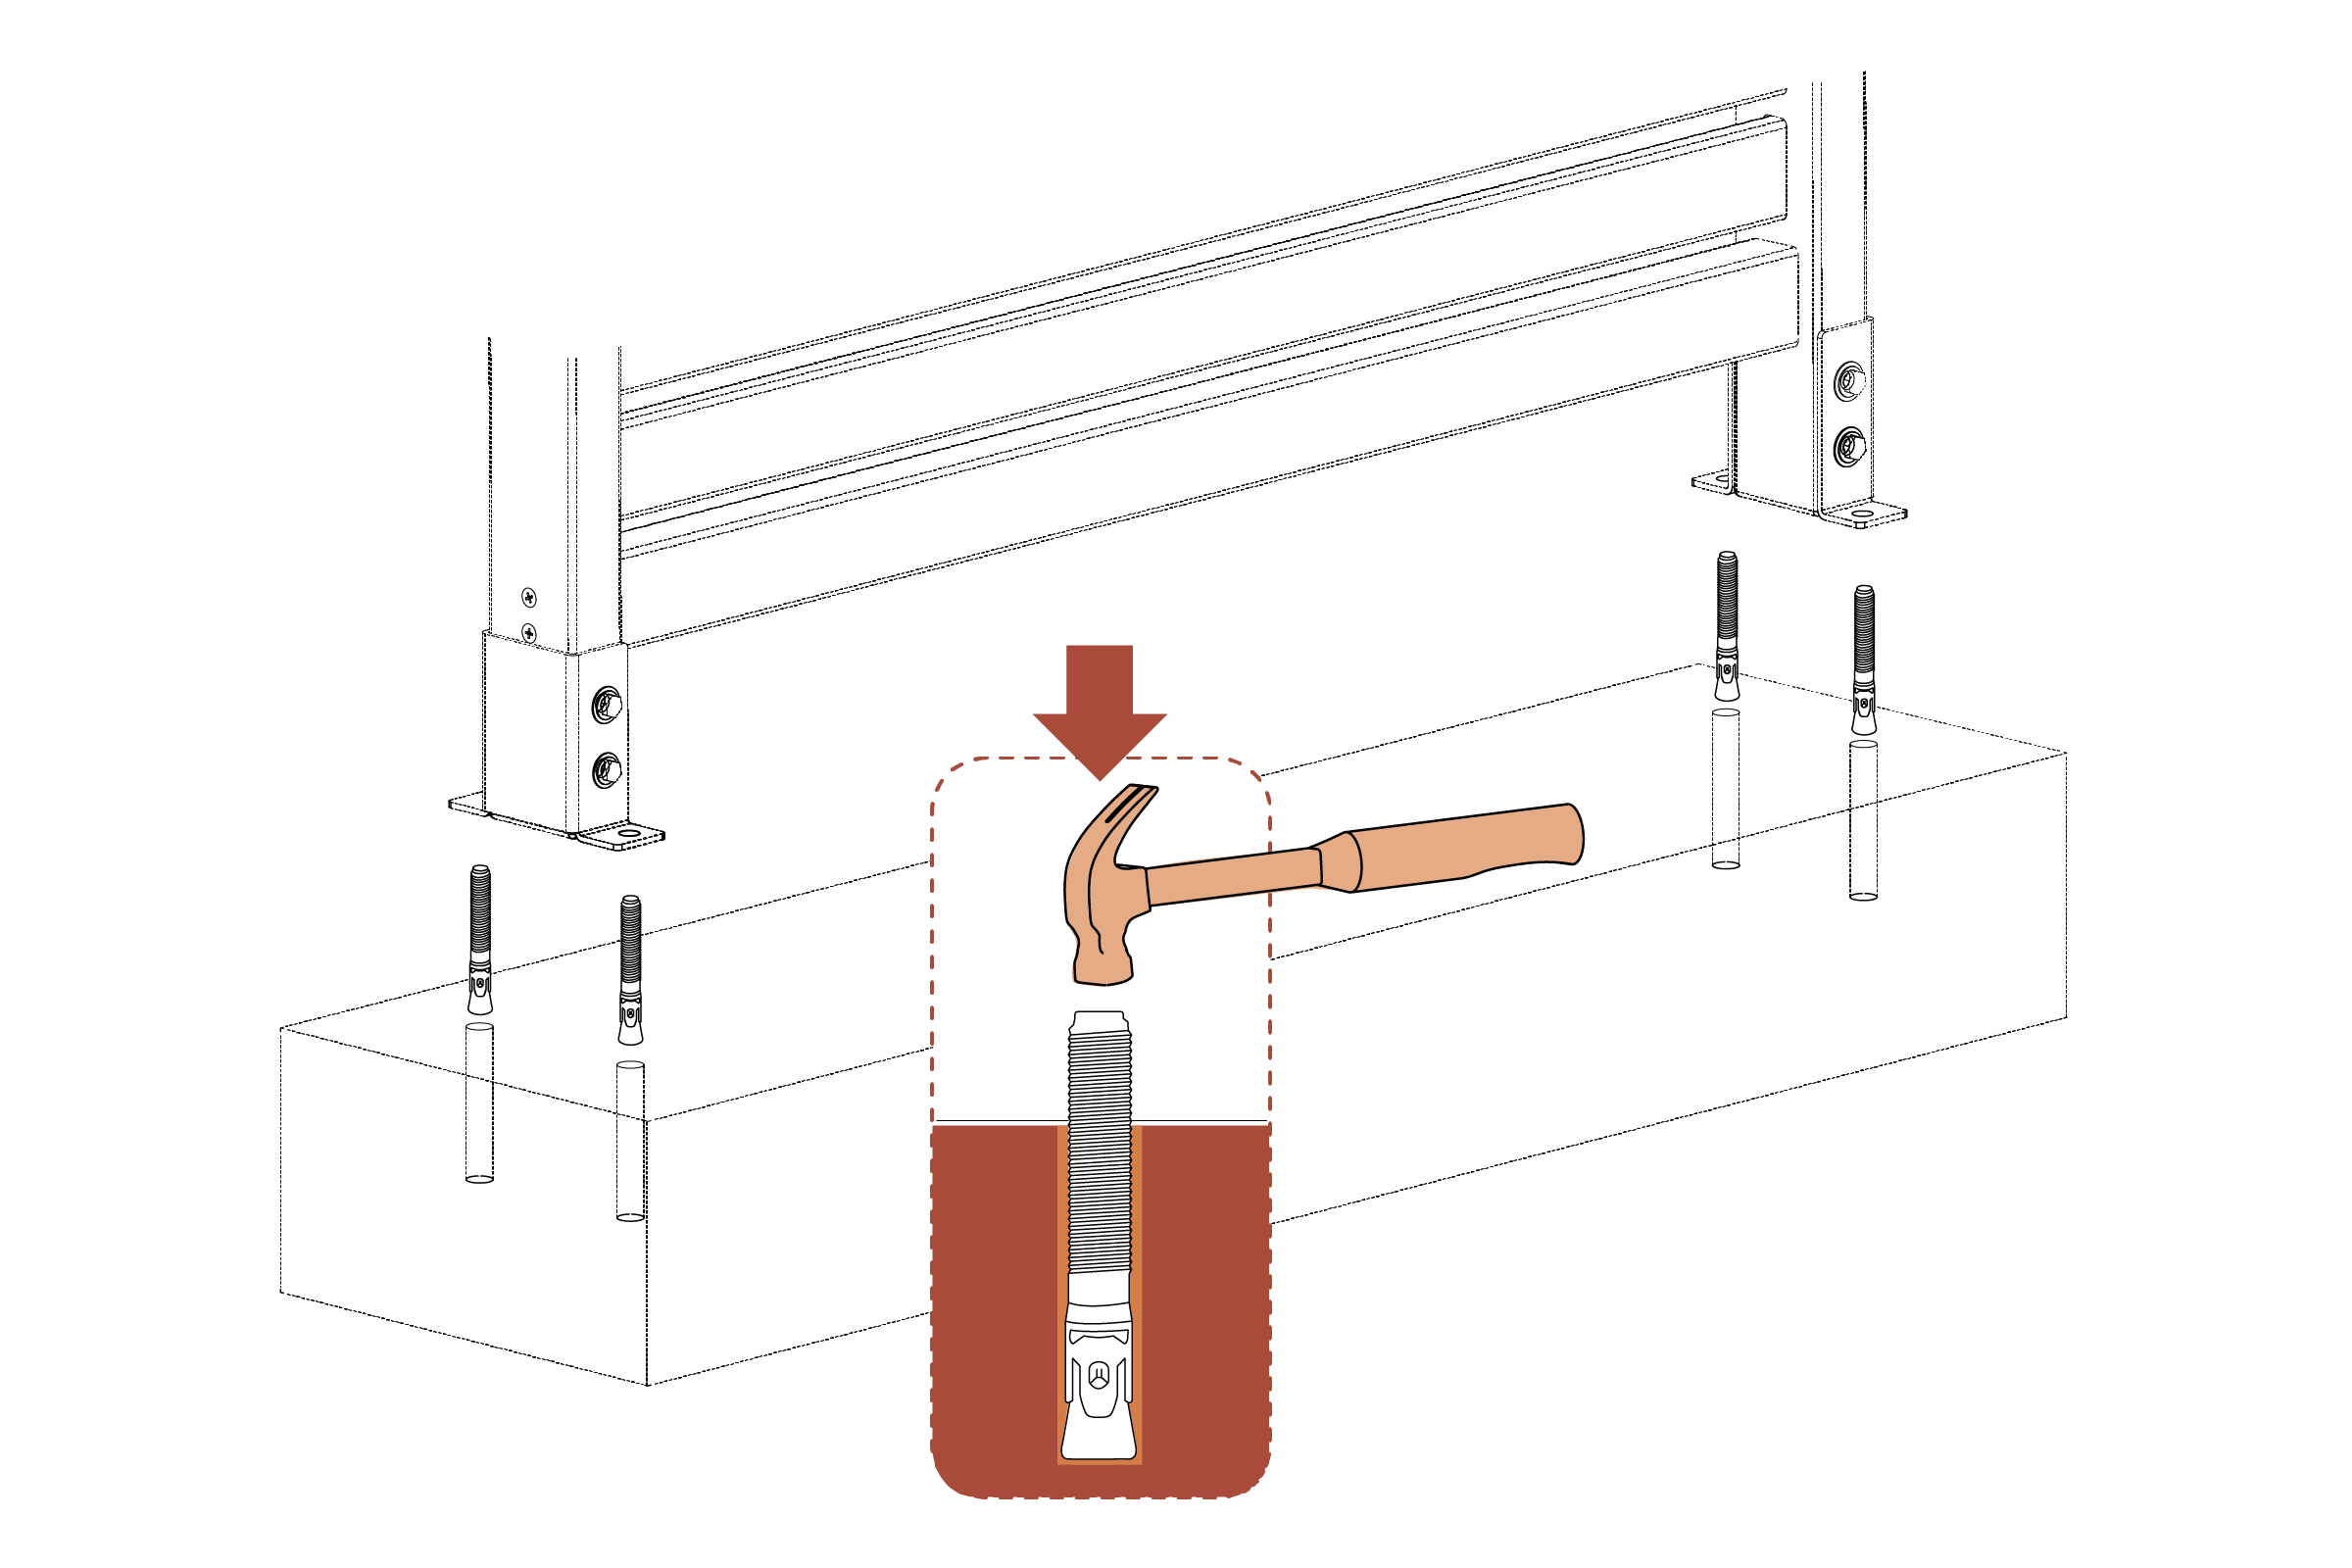
Surface Mounted Patio Step 5
Surface Mounted Patio Step 6
Need Help?
- Email: support@encloscreens.com
- Phone: 704-892-5222 or 877-234-6196
- Text: 980-580-6508
