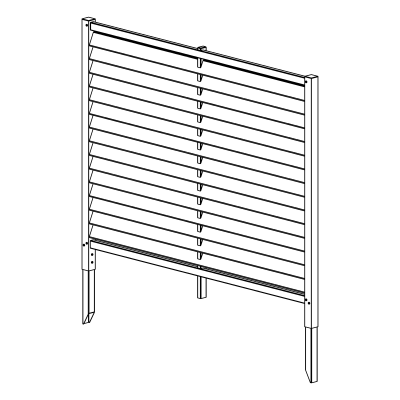
Savannah Louvered Privacy Screen
Before You Begin
- Assemble the product on a flat, non-abrasive surface.
- We recommend two people for a smoother assembly experience.
- Use appropriate tools and safety equipment during installation.
- Do not use excessive force when assembling components.
Returns: Please let us help resolve any issues before initiating a return. If a return is still necessary, it must be initiated with the retailer where the product was purchased.
Need Help or Replacement Parts?
Our US-based customer service team is available Monday–Friday, 9am–5pm EST.
- Website: https://parts.nychbrands.com
- Email: support@encloscreens.com
- Phone: 704-892-5222 or 877-234-6196
For faster service, have your item number (EC18041) and part name ready. A batch lot number (found on the end of the box) is also helpful — it assists us in identifying and resolving any production issues.
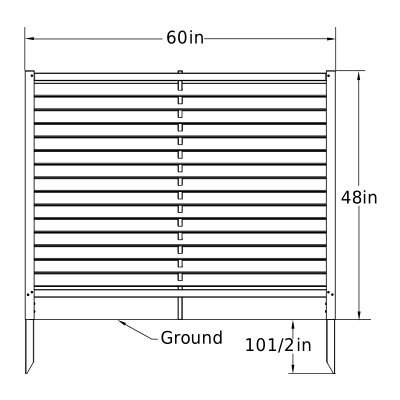
Product Specifications
Required Tools
We recommend two people for a smoother assembly.
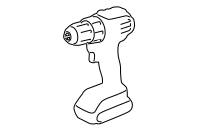
Power Drill with Phillips Bit
Mallet
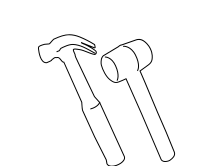
Wood Block
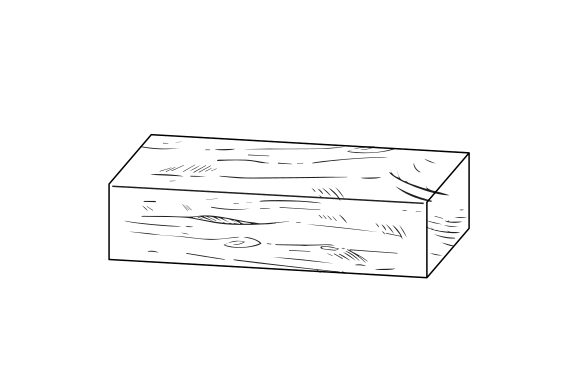
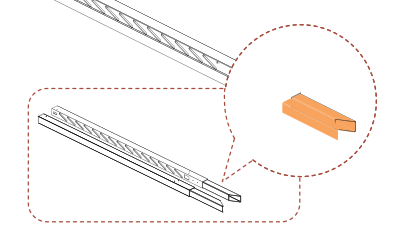
Note:
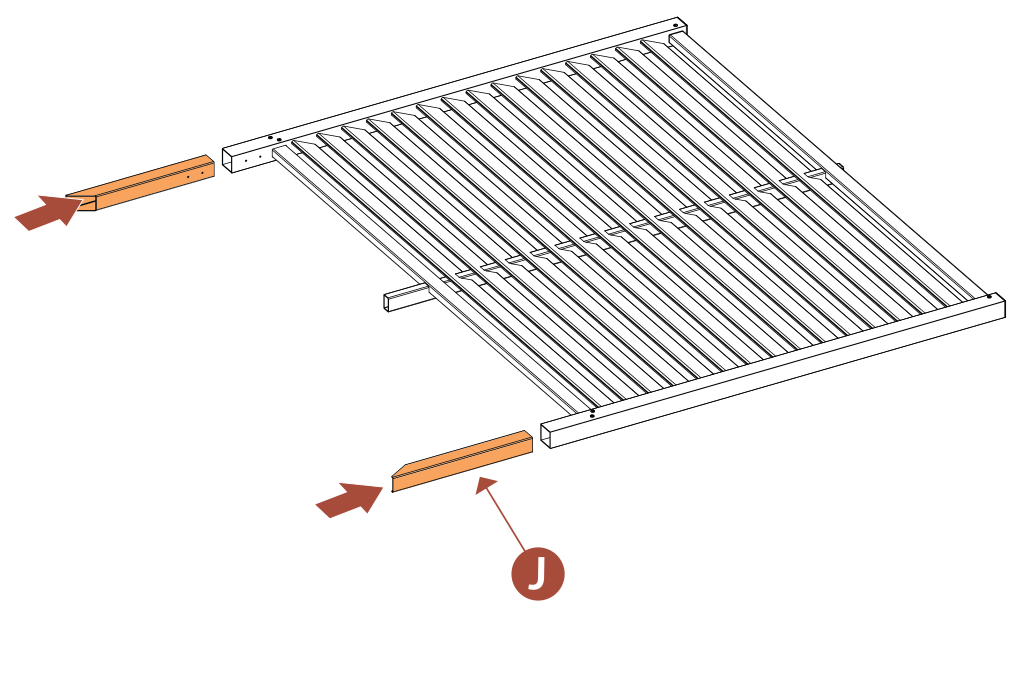
Check inside your posts (Parts B & C) for anchors (Part J)
Part Identification
A
Middle Post (1)
1½" x ⅞" x 48"
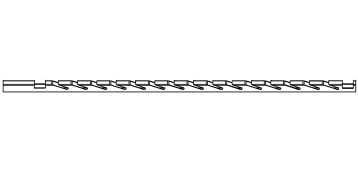
B
Left Post (1)
1¾" x 1¾" x 48"
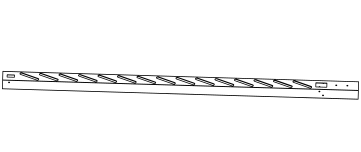
C
Right Post (1)
1¾" x 1¾" x 48"
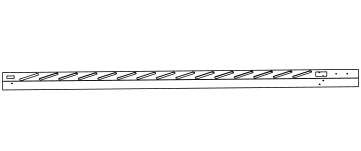
D
Top Rail (1)
1½" x ⅞" x 56¼"
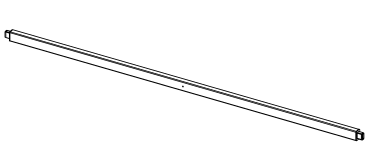
E
Slat (15)
2¾" x ⅜" x 59⅞"
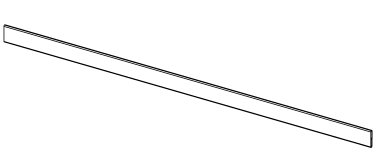
F
Bottom Rail (1)
1½" x ⅞" x 59⅞"
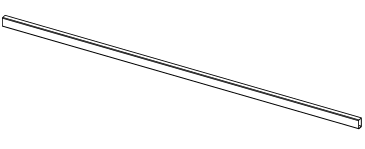
G
1½" Self-Drilling Steel Screw (15)
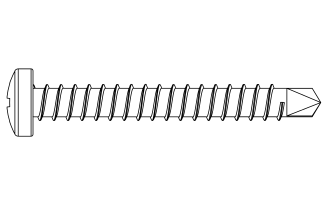
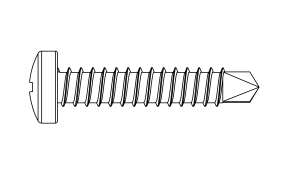
H
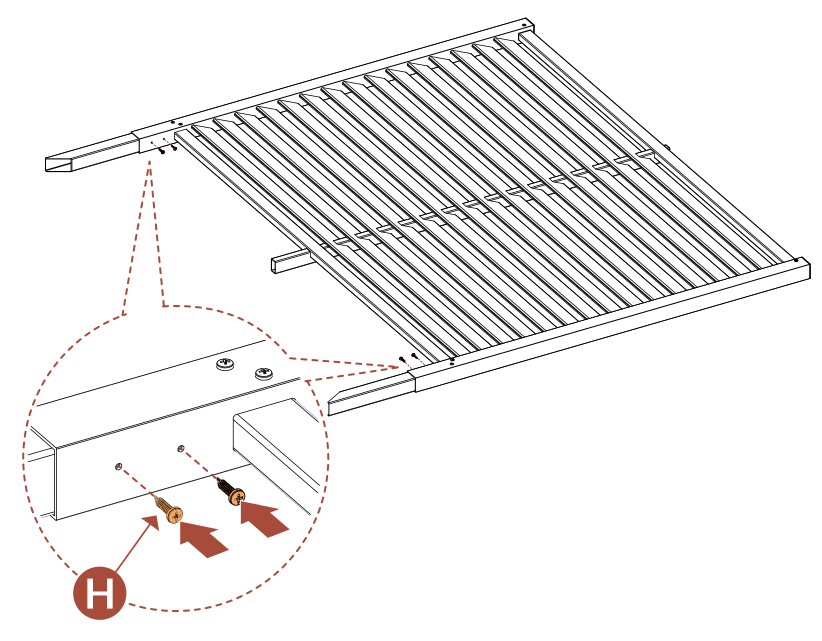
¾" Self-Drilling Steel Screw (8)
I
Joiner Clip (2)
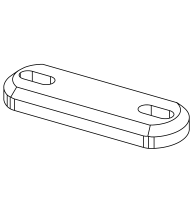
J
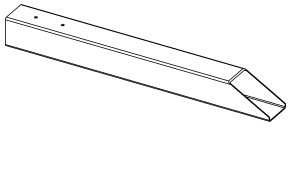
Anchor (2)
1⅝" x 1⅝" x 14¾"
Step 1
Parts Required
A x1
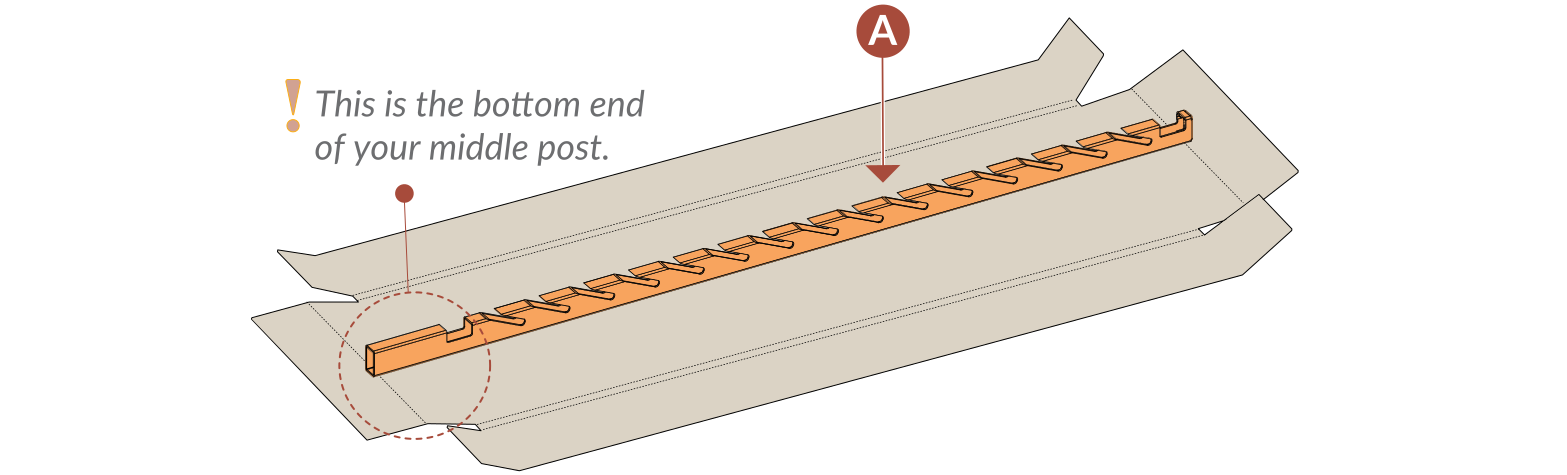
- Identify the bottom end of your Middle Post (A).
Step 2
Parts Required
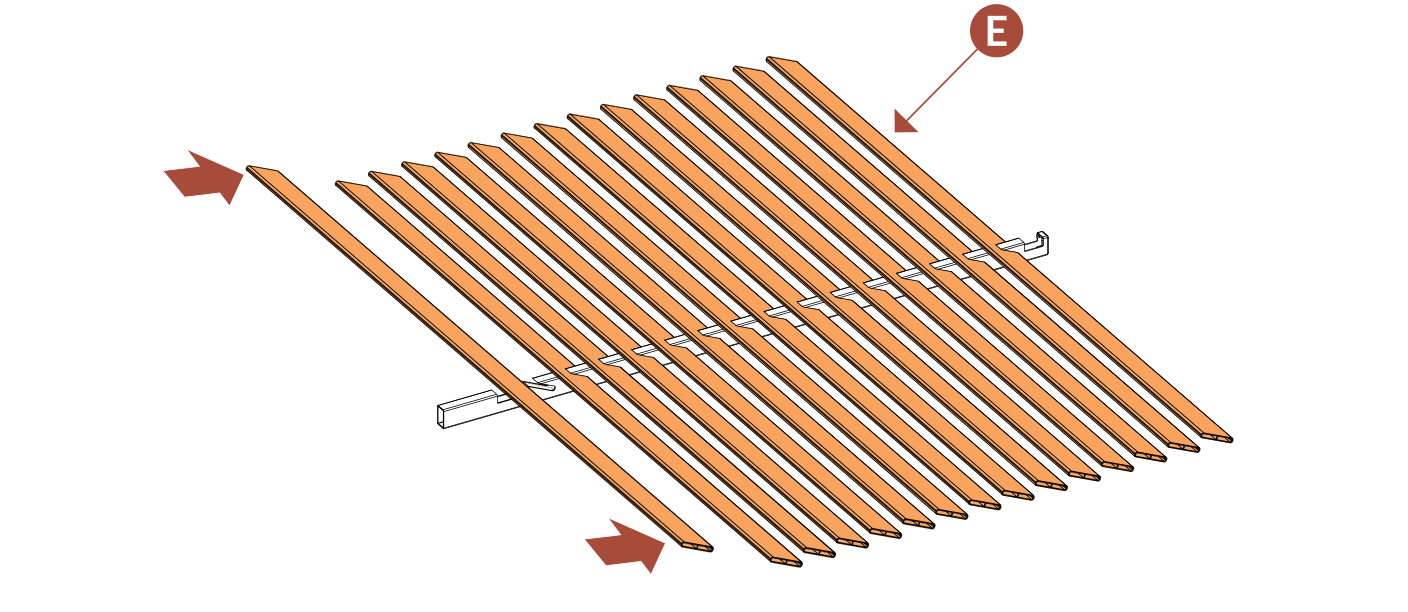
E x15
Step 3
Parts Required
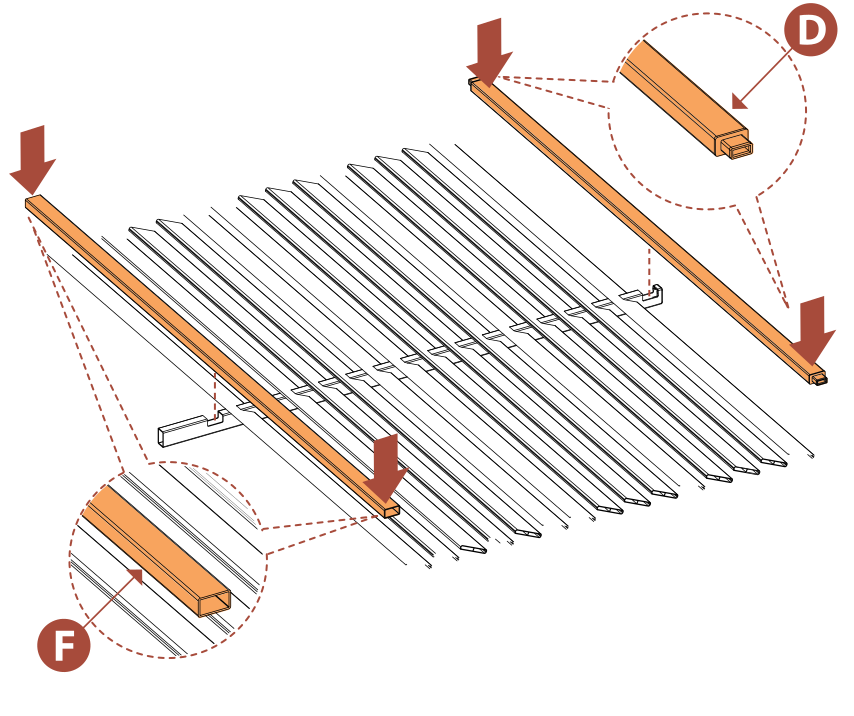
D x1 F x1
Step 4
Parts Required
B x1 C x1 J x2
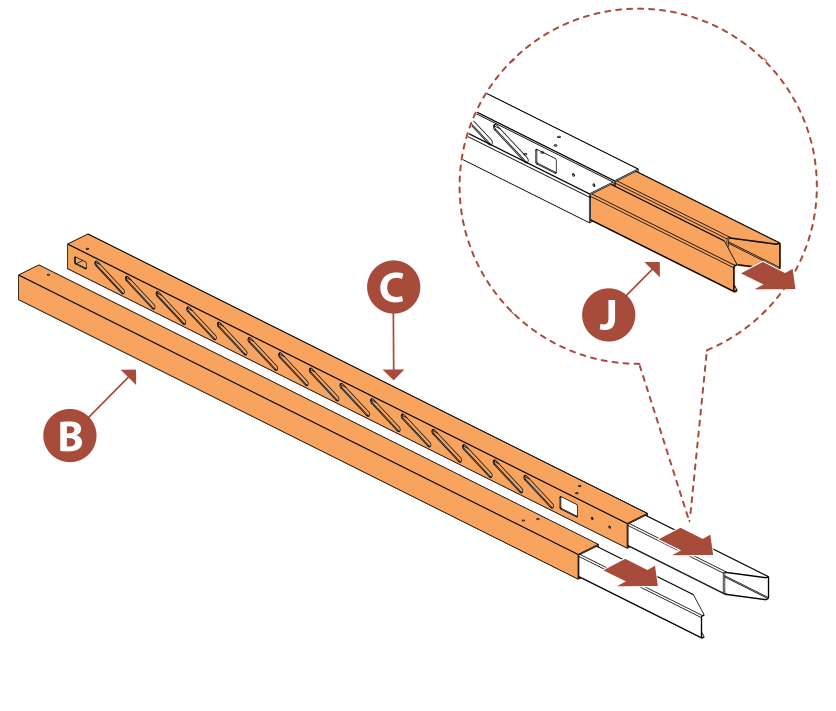
- Fully remove Anchors (J) from Posts C & D.
- Set them to the side as you will need them for Step 10.
Step 5
Parts Required
B x1
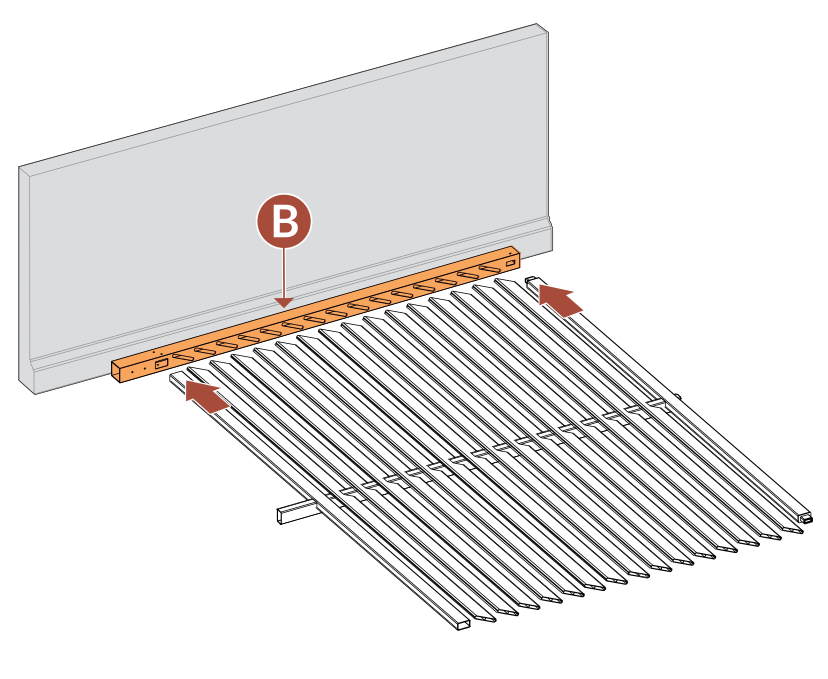
- Push Post (B) against a wall for stability; insert Rails (D & F) and Slats (E) into post.
Step 6
Parts Required
C x1
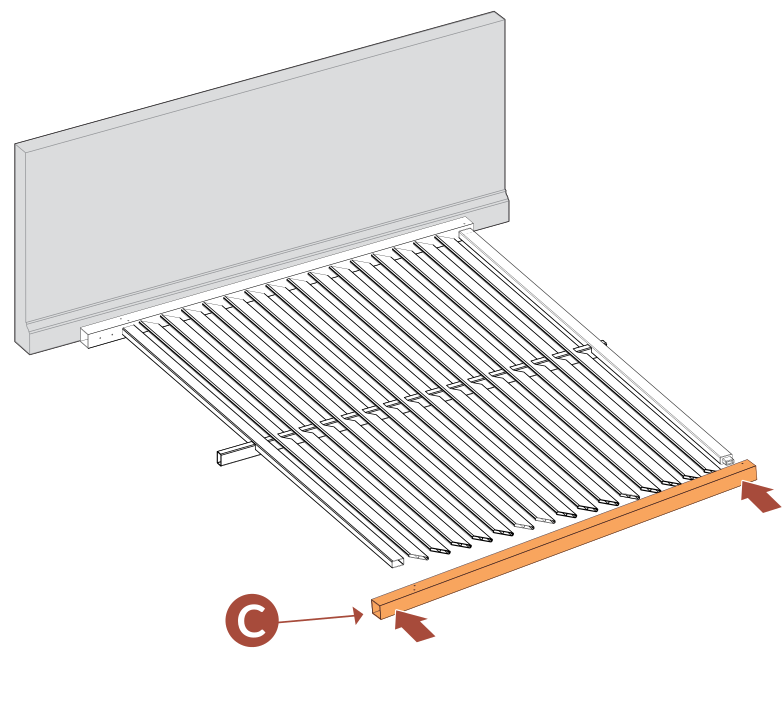
Step 7
Parts Required
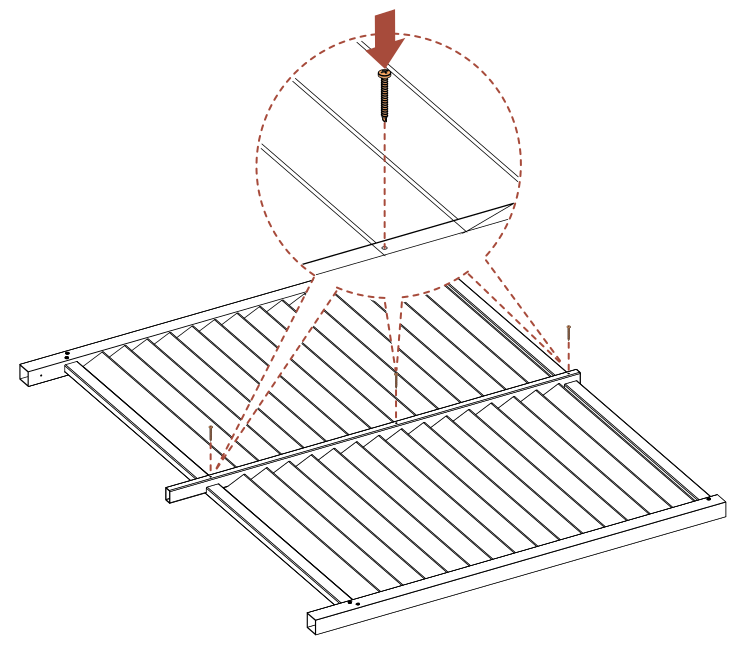
G x6
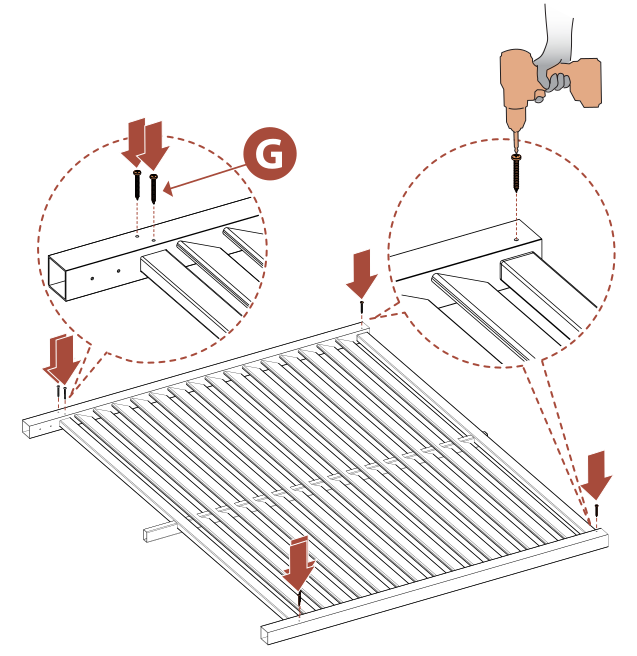
Step 8
Parts Required
G x6
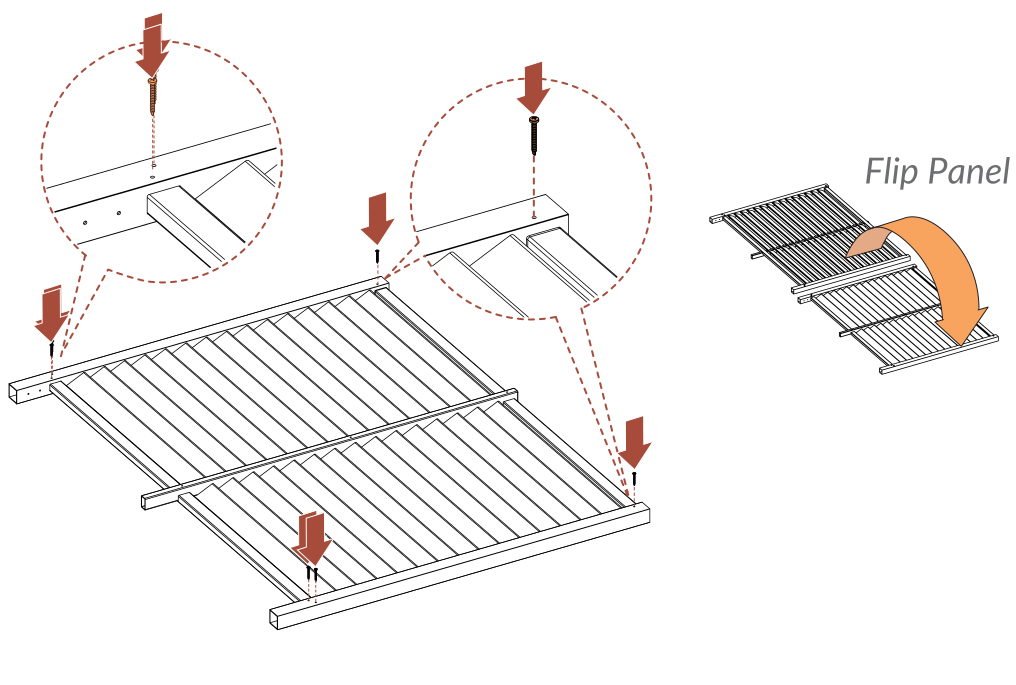
- Flip the panel and repeat on the other side.
Step 9
Parts Required
G x3
Step 10
Parts Required
J x2
Step 11
Parts Required
H x4
Step 12
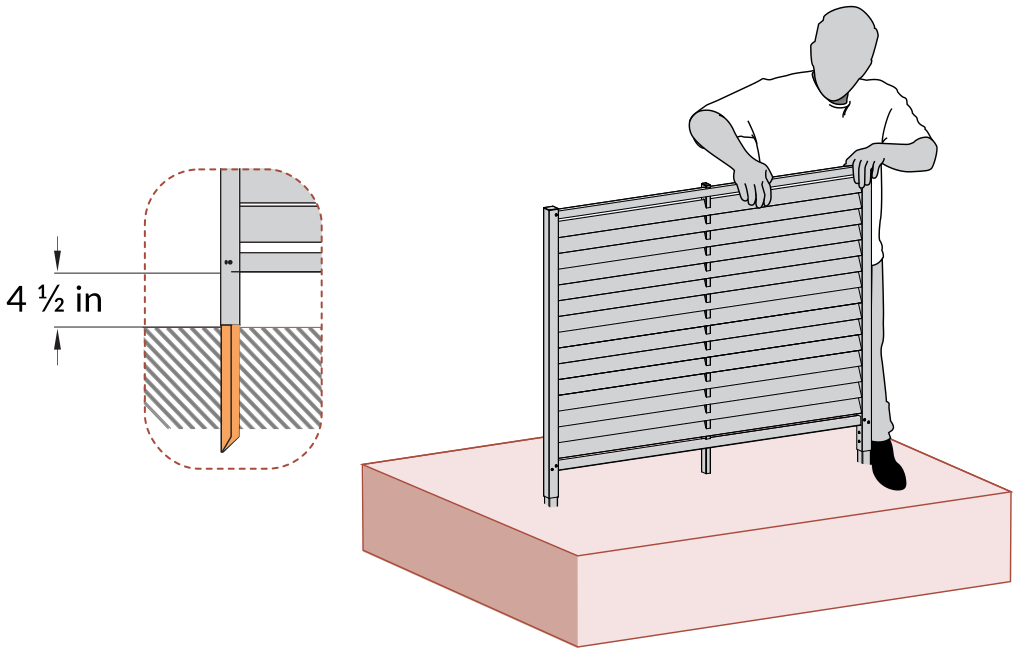
- Attempt to push the unit into the ground.
- Click here to see a video demonstration.
Step 13
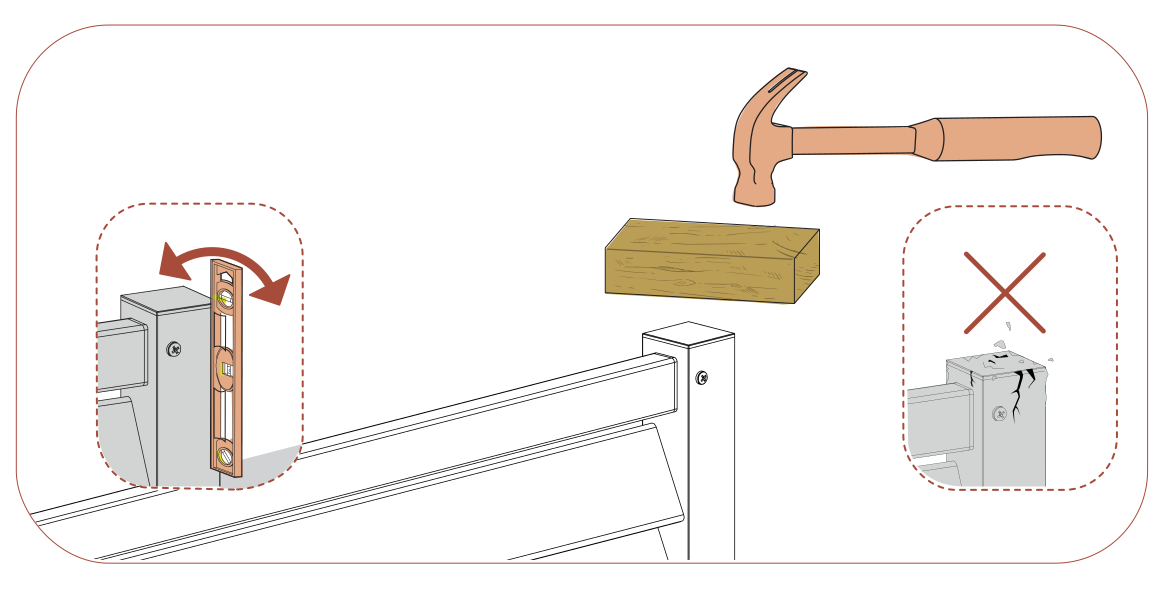
- Tap posts using scrap wood block for protection.
- Check straightness with a level.
Step 14
If Ground is Too Hard:
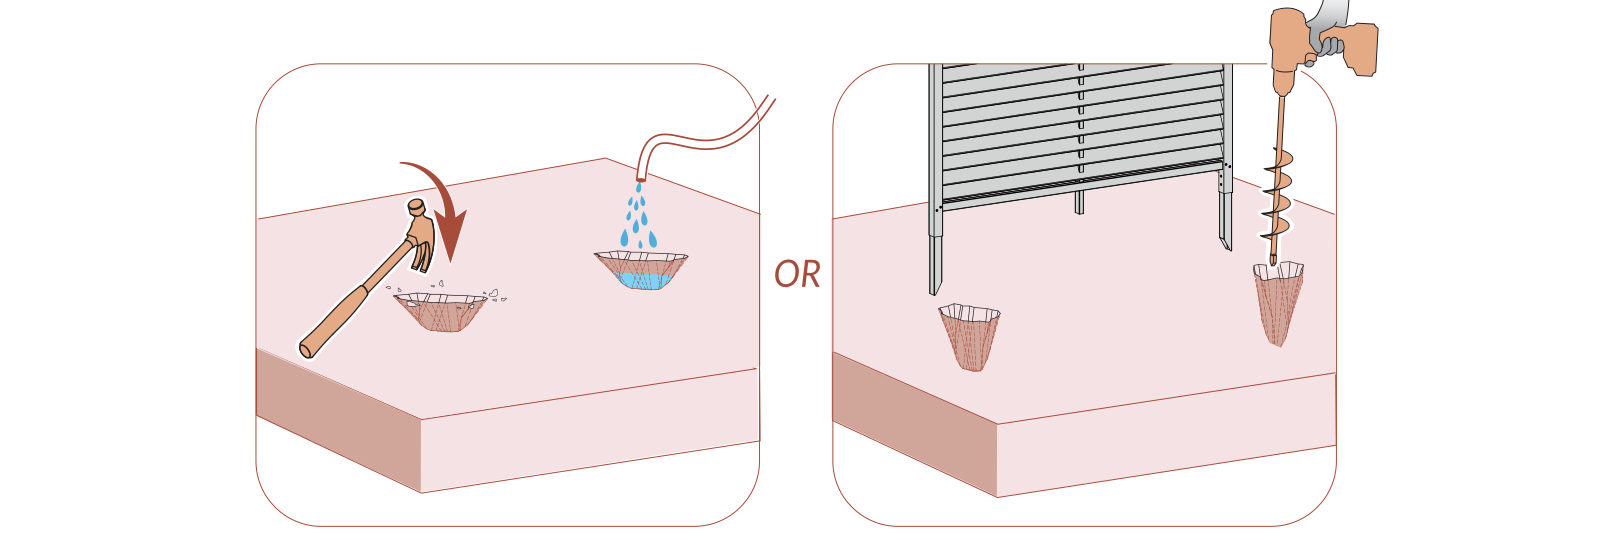
- Loosen ground and soak with water.
- Or use a 1.5in tulip auger drill attachment.
Multi-Screen Option
Parts Required
I x2 H x4
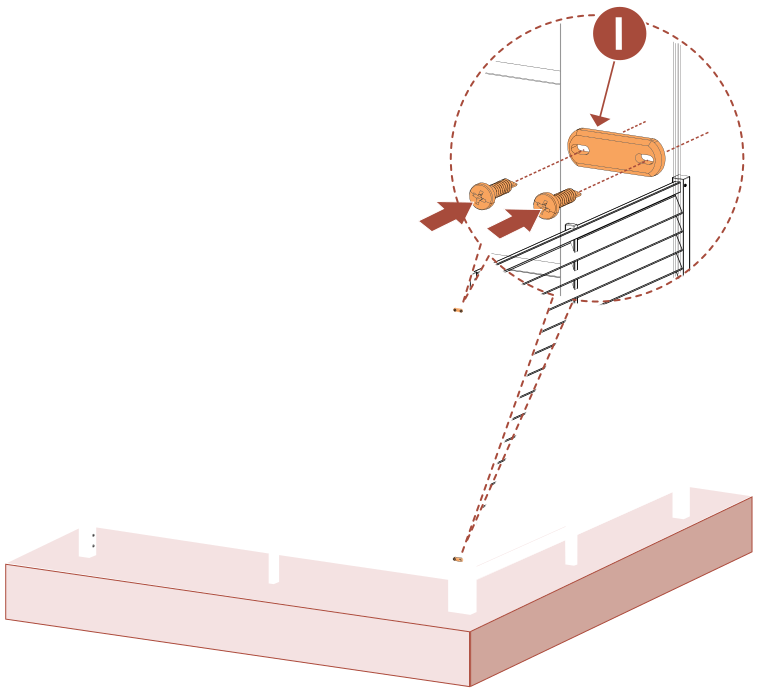
- After you build your second panel, fasten panels together using provided Joiner Clips (I).
Need Help?
- Email: support@encloscreens.com
- Phone: 704-892-5222
- Text: 980-580-6580
